Do you remember, ohh several months ago, when I posted this inspiration sketch for Sam’s bedroom makeover?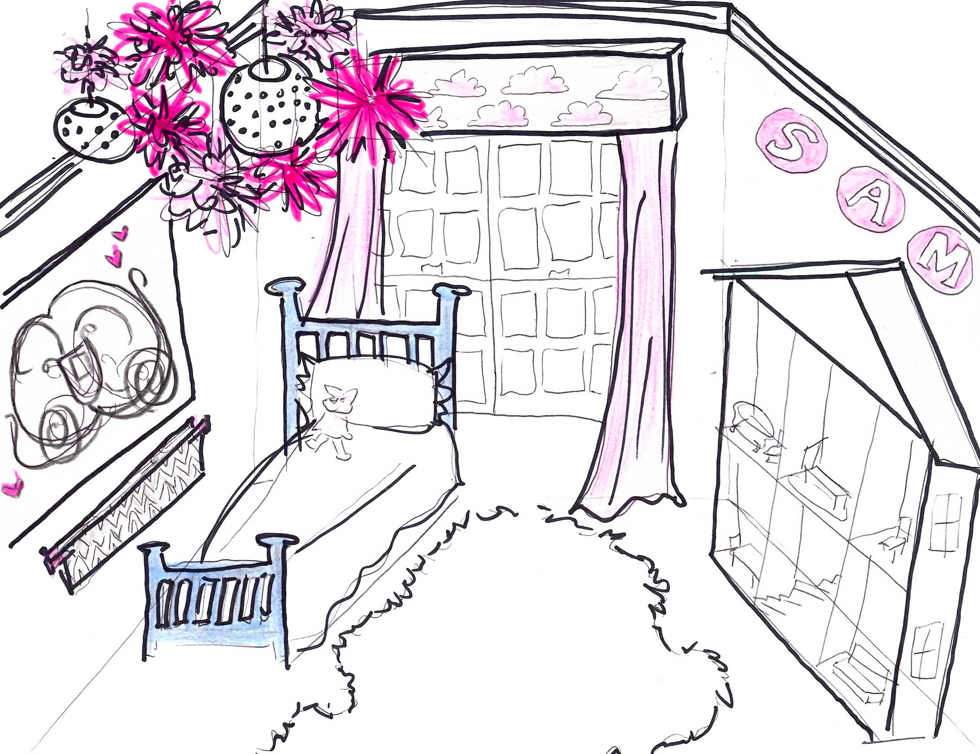
Well I can’t believe it but the whole room is finally done!! It’s not exactly how I started out envisioning it but over time it’s gradually evolved into something even better. My main goal was to give Sam a room she would adore but “princess, glitter, pink, princesses, sparkles, light pink, dark pink & medium pink” were the words I believe she used to describe her ideal space. Ack!! Sam’s room is the first thing you see when you come up the stairs & there was no way I was going to look at bubblegum pink walls, a lifesize Sleeping Beauty decal & some horribly scratchy Disney princess comforter set 10 times a day. The end result I think is a great compromise, I give you the ‘Not-too-Princess Girl’s Bedroom Makeover!
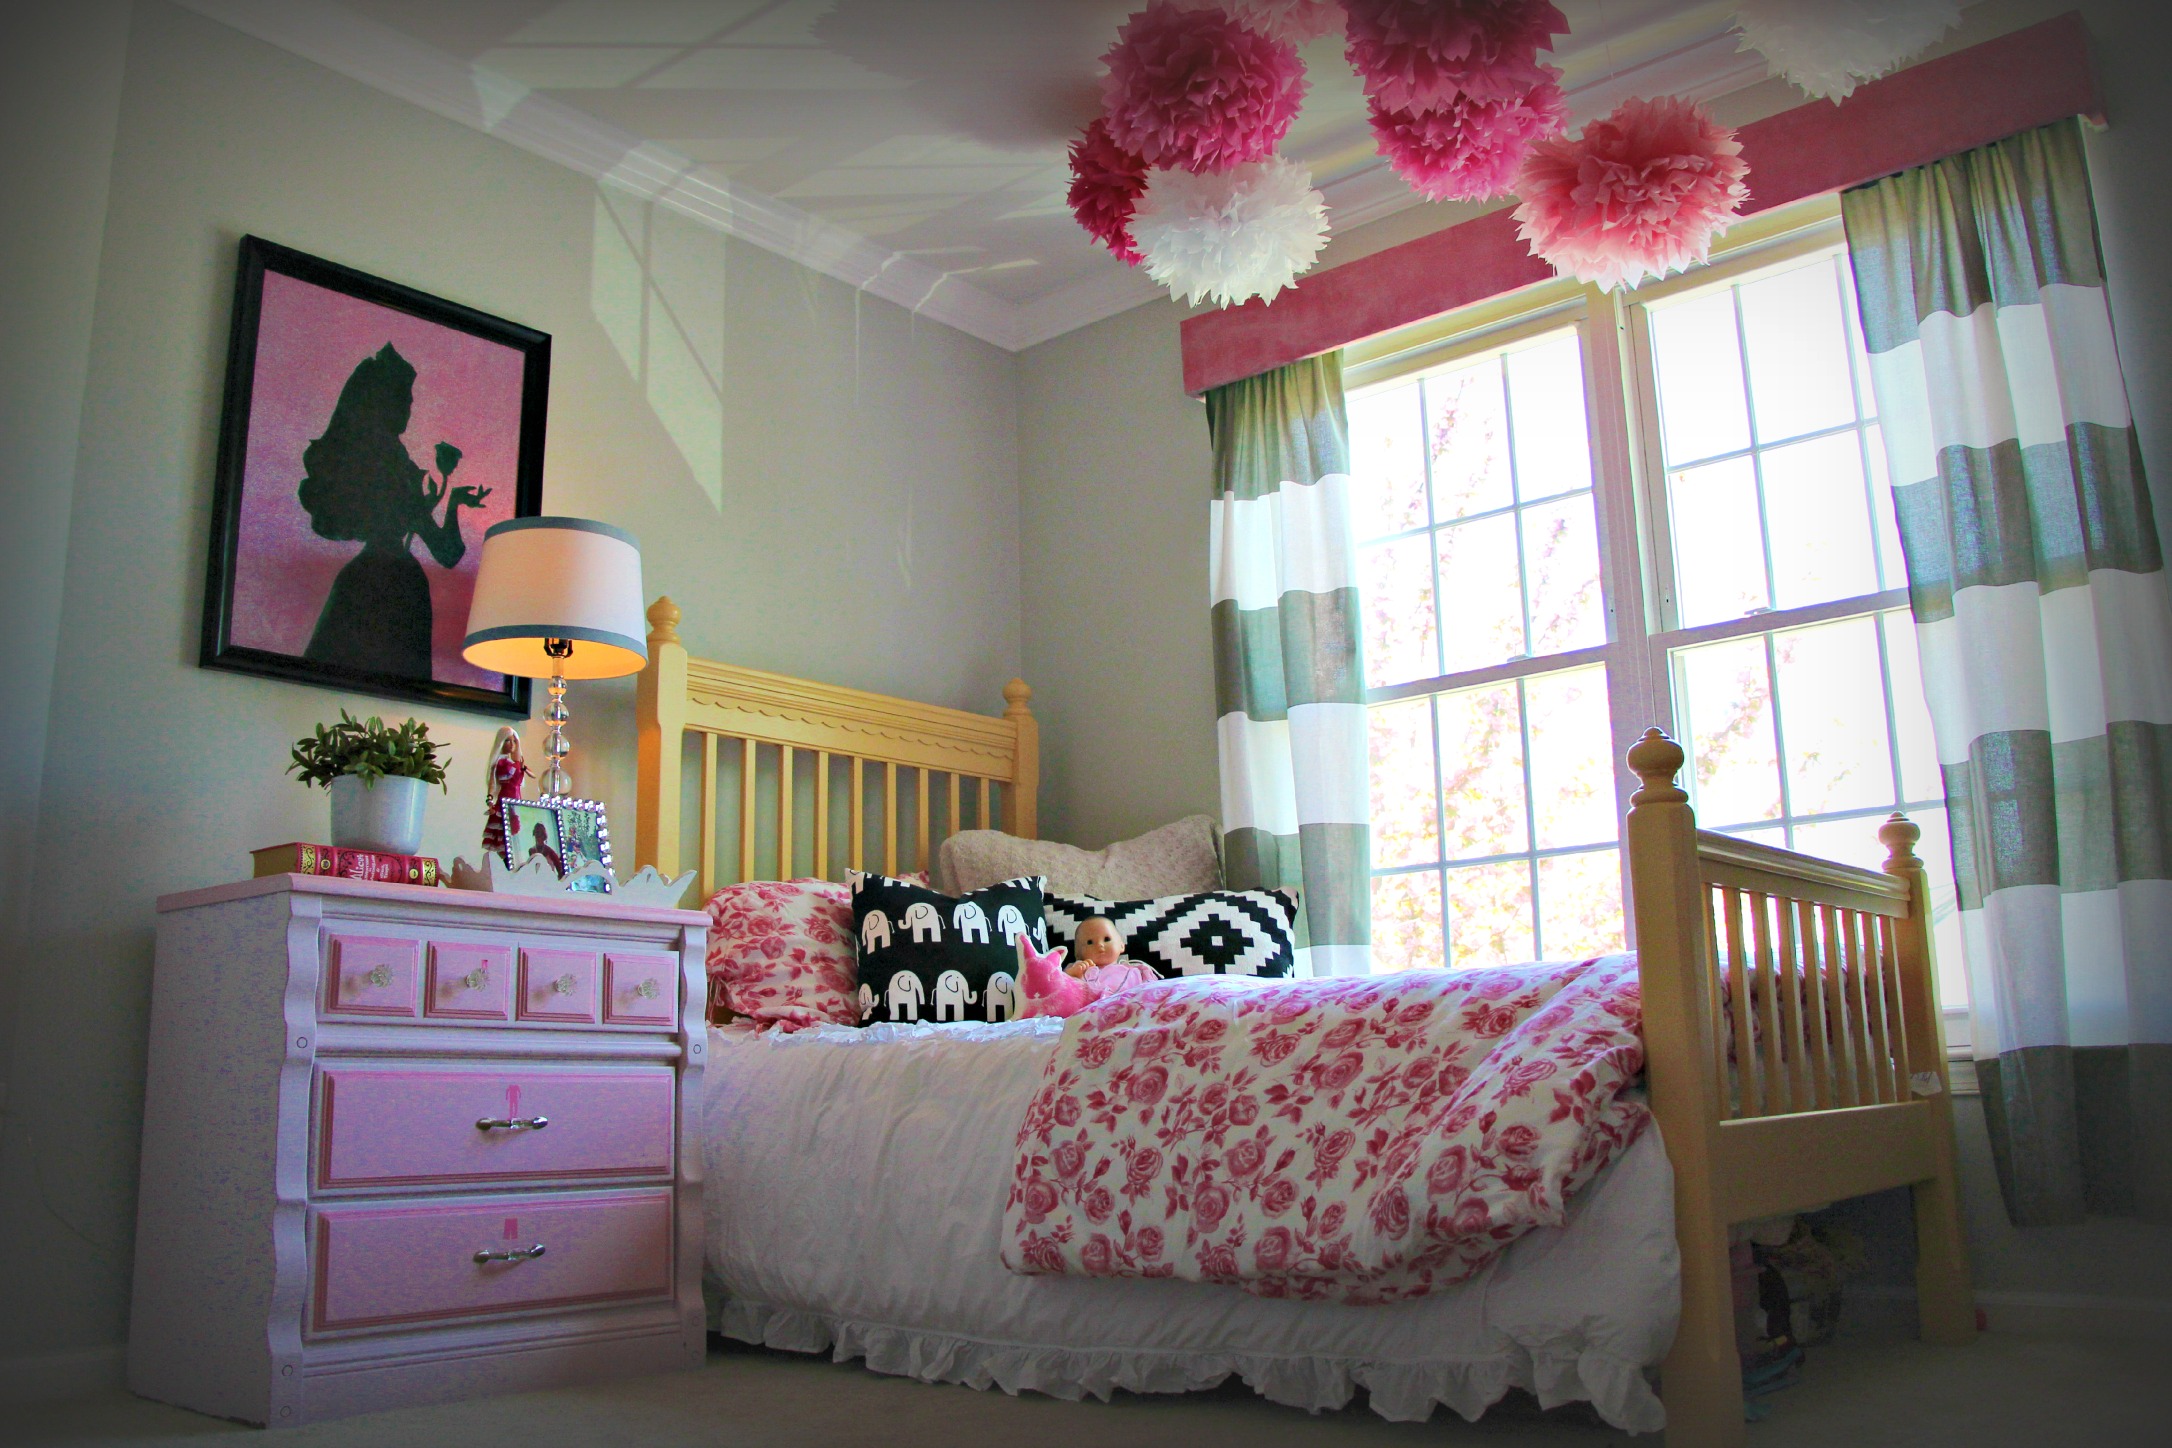
Here’s the before, cute, but she had outgrown it…& the after!
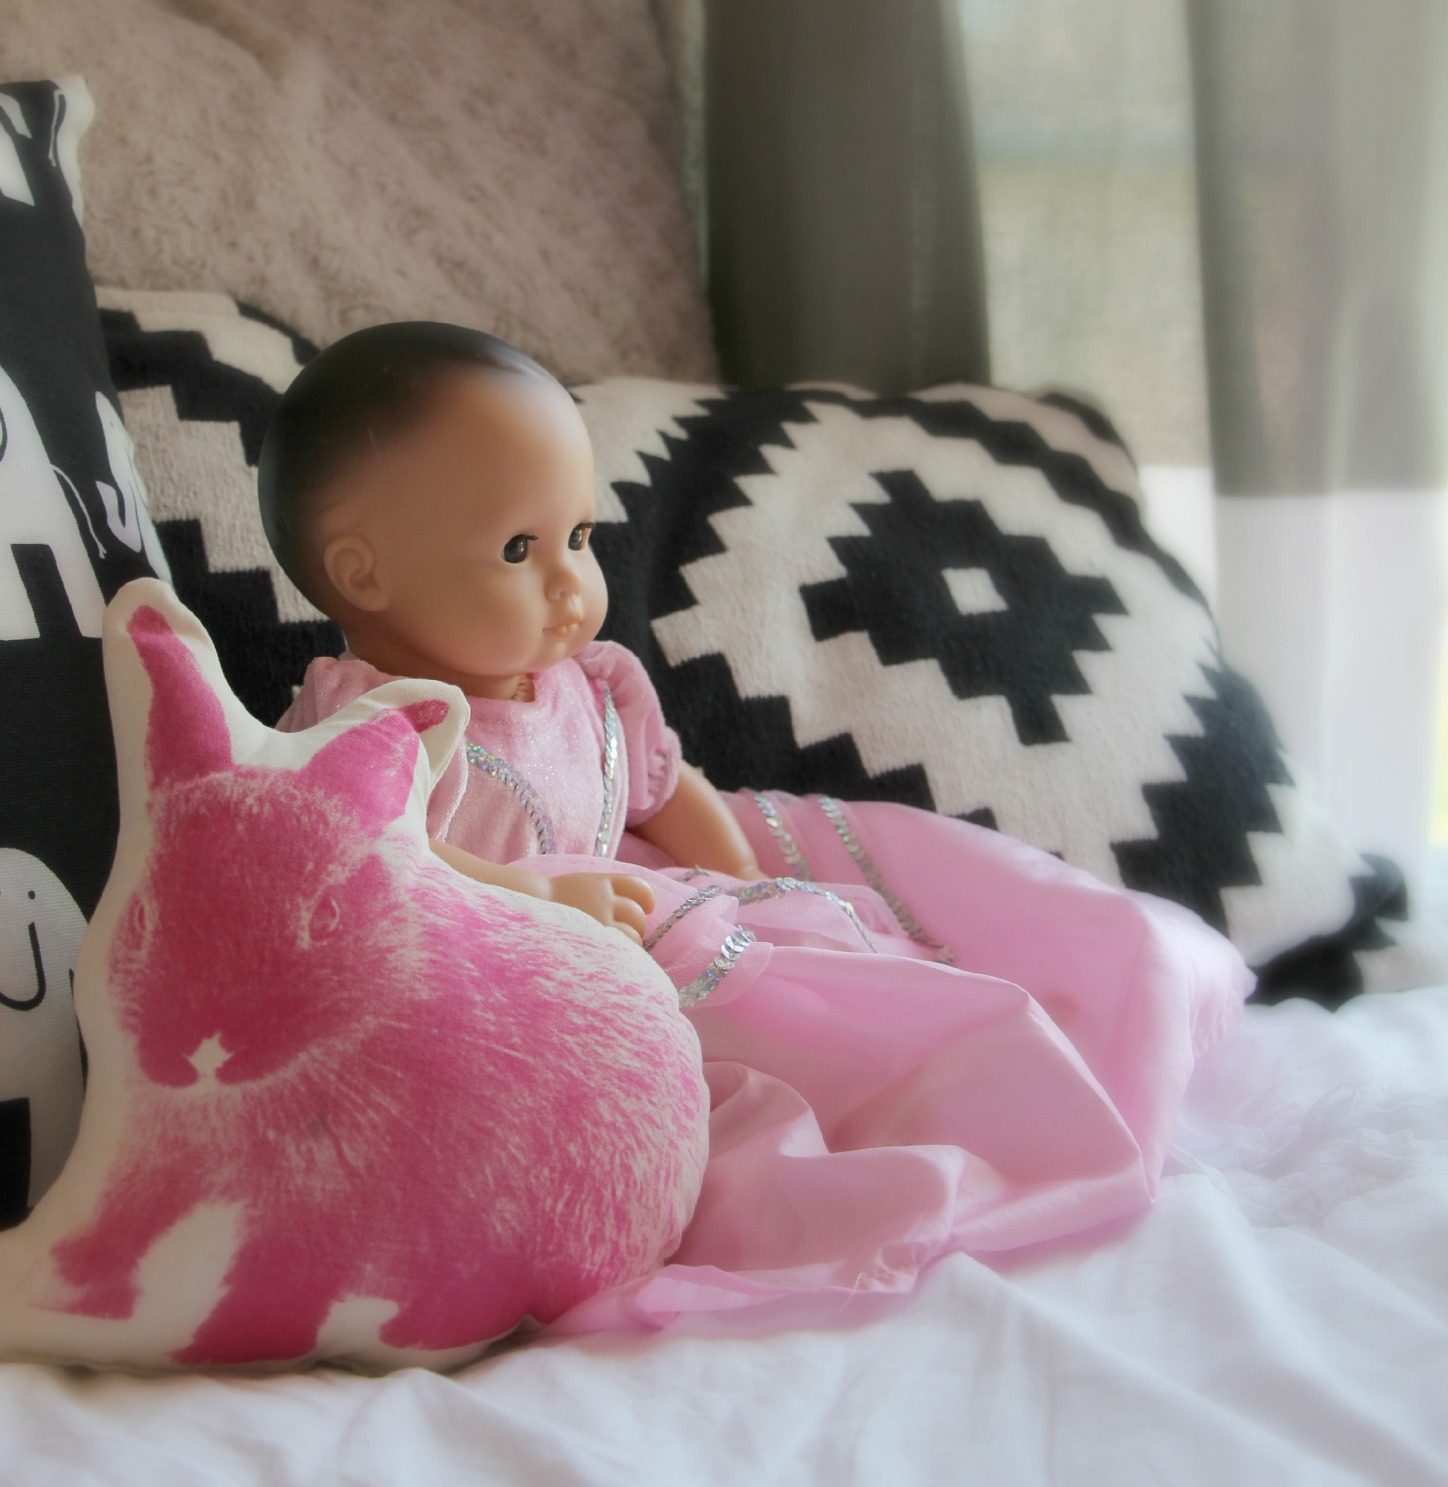
Bedding before & after…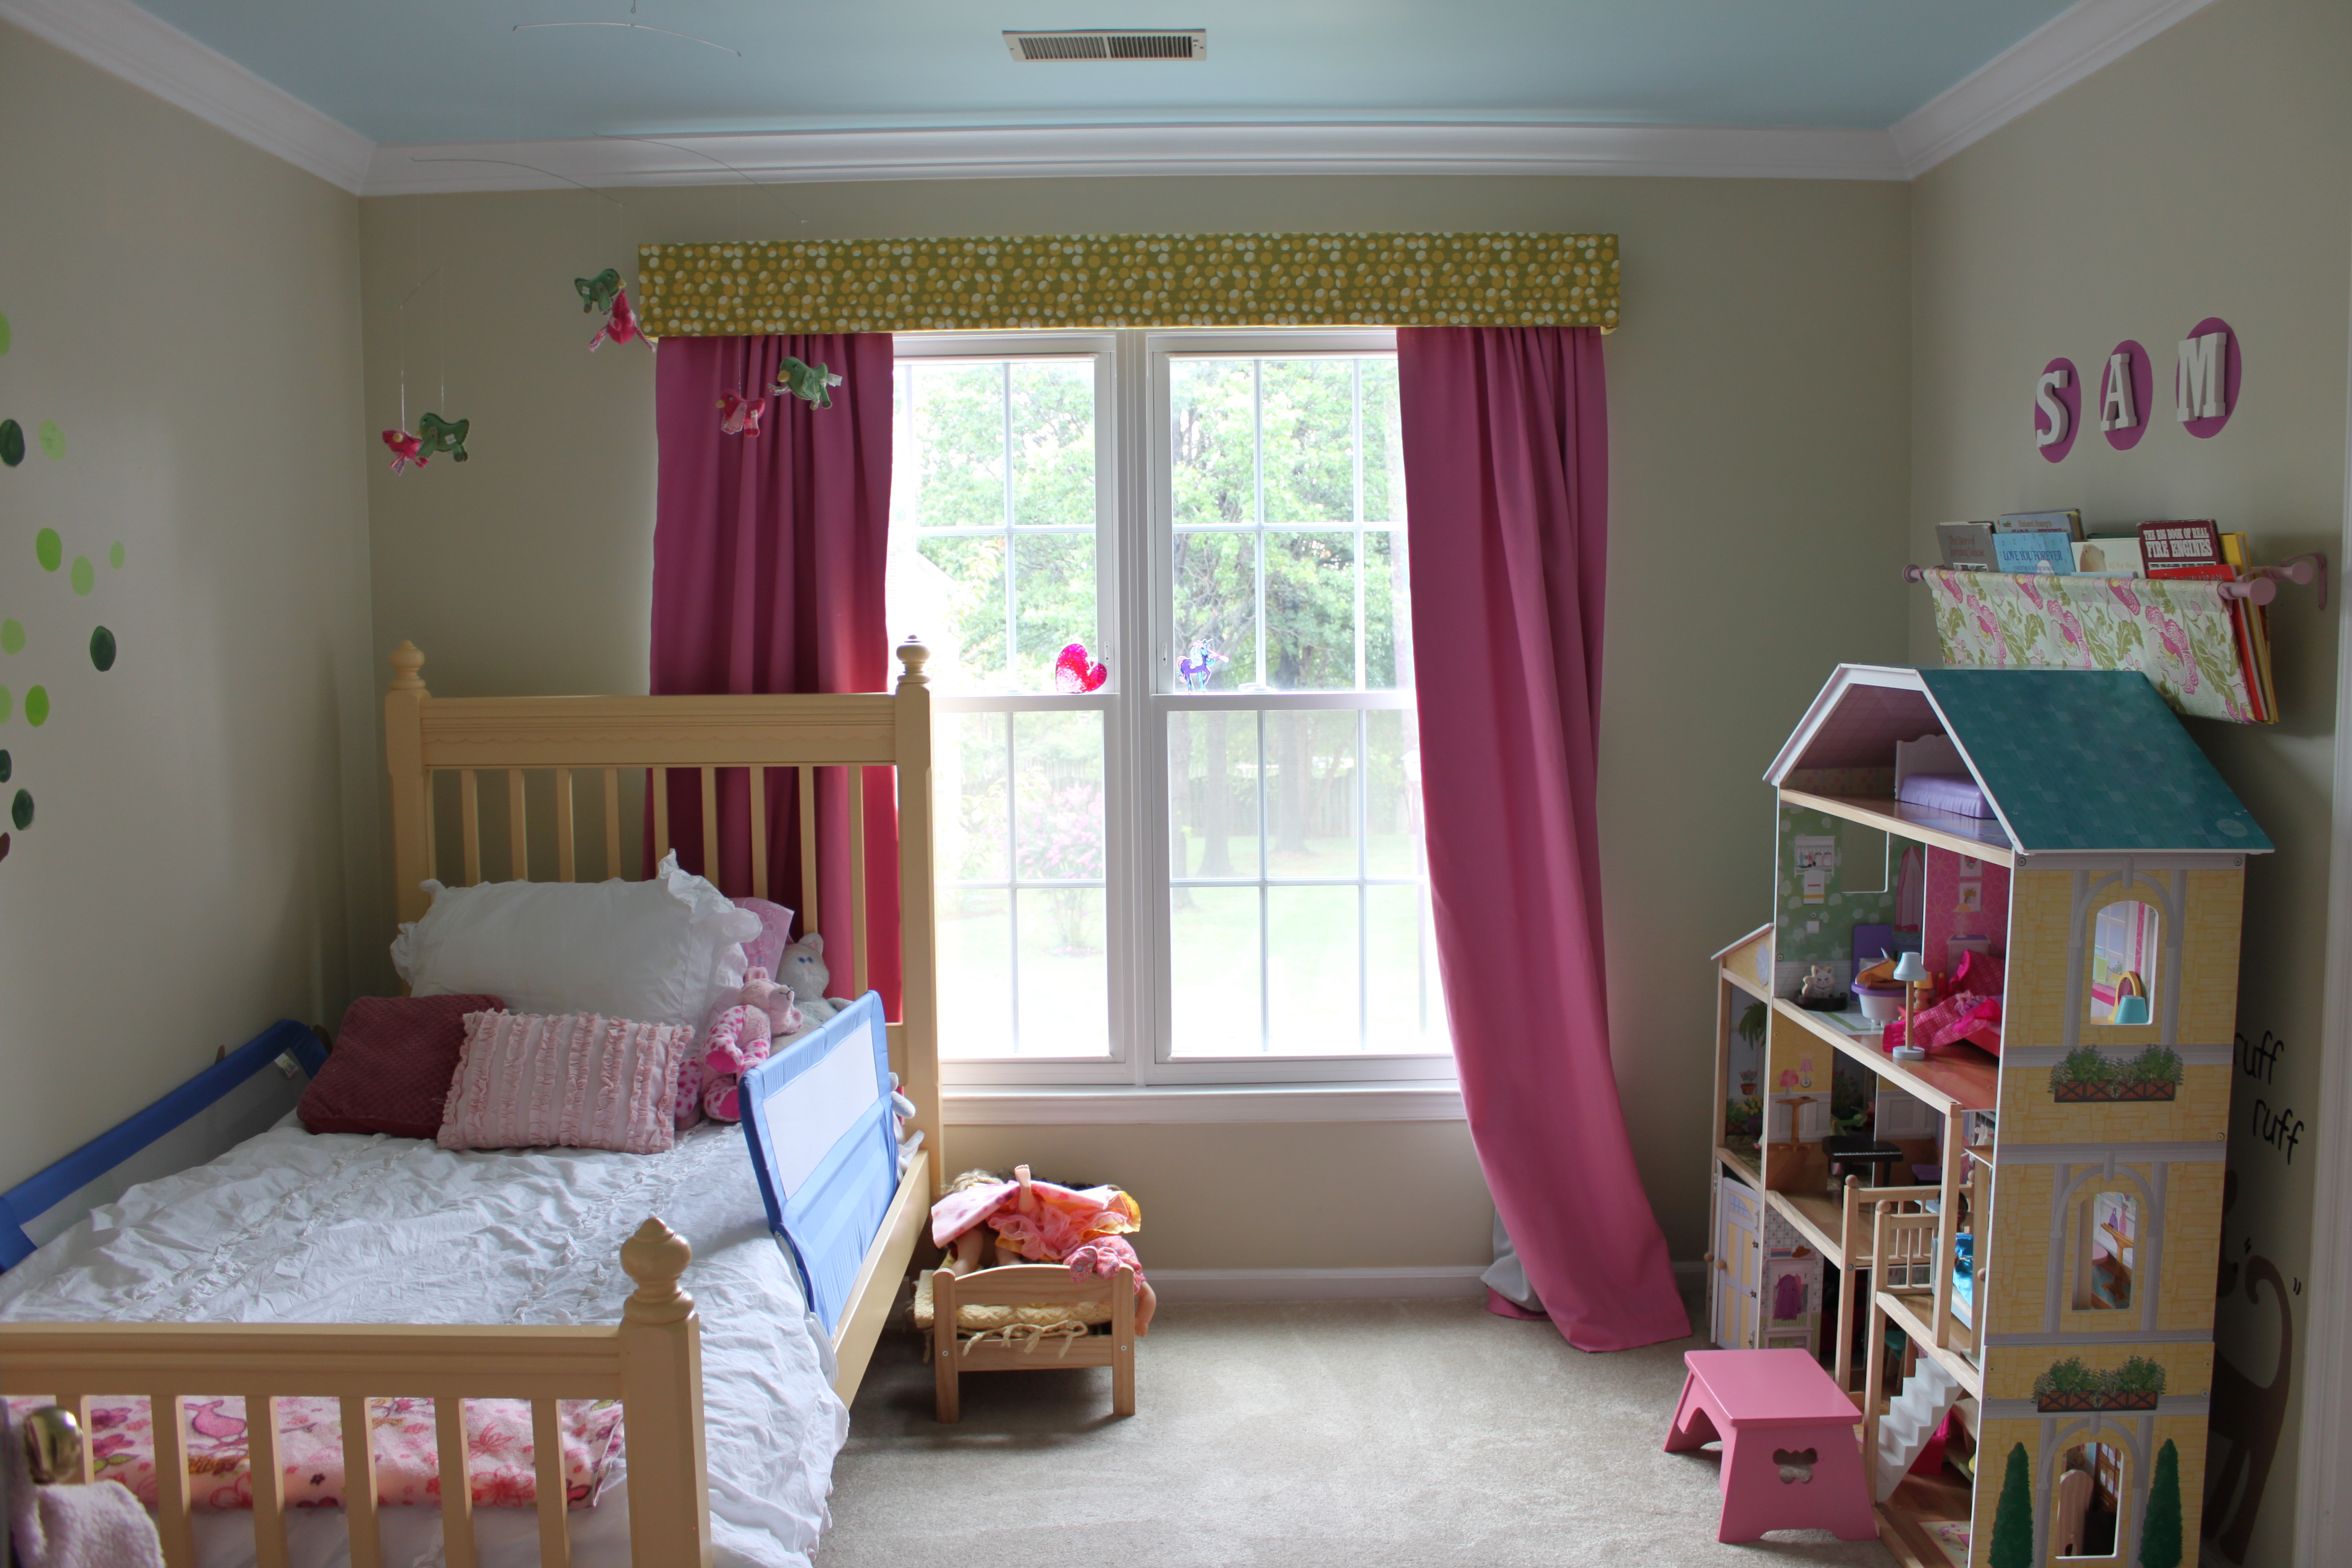
 Dollhouse wall before & after…
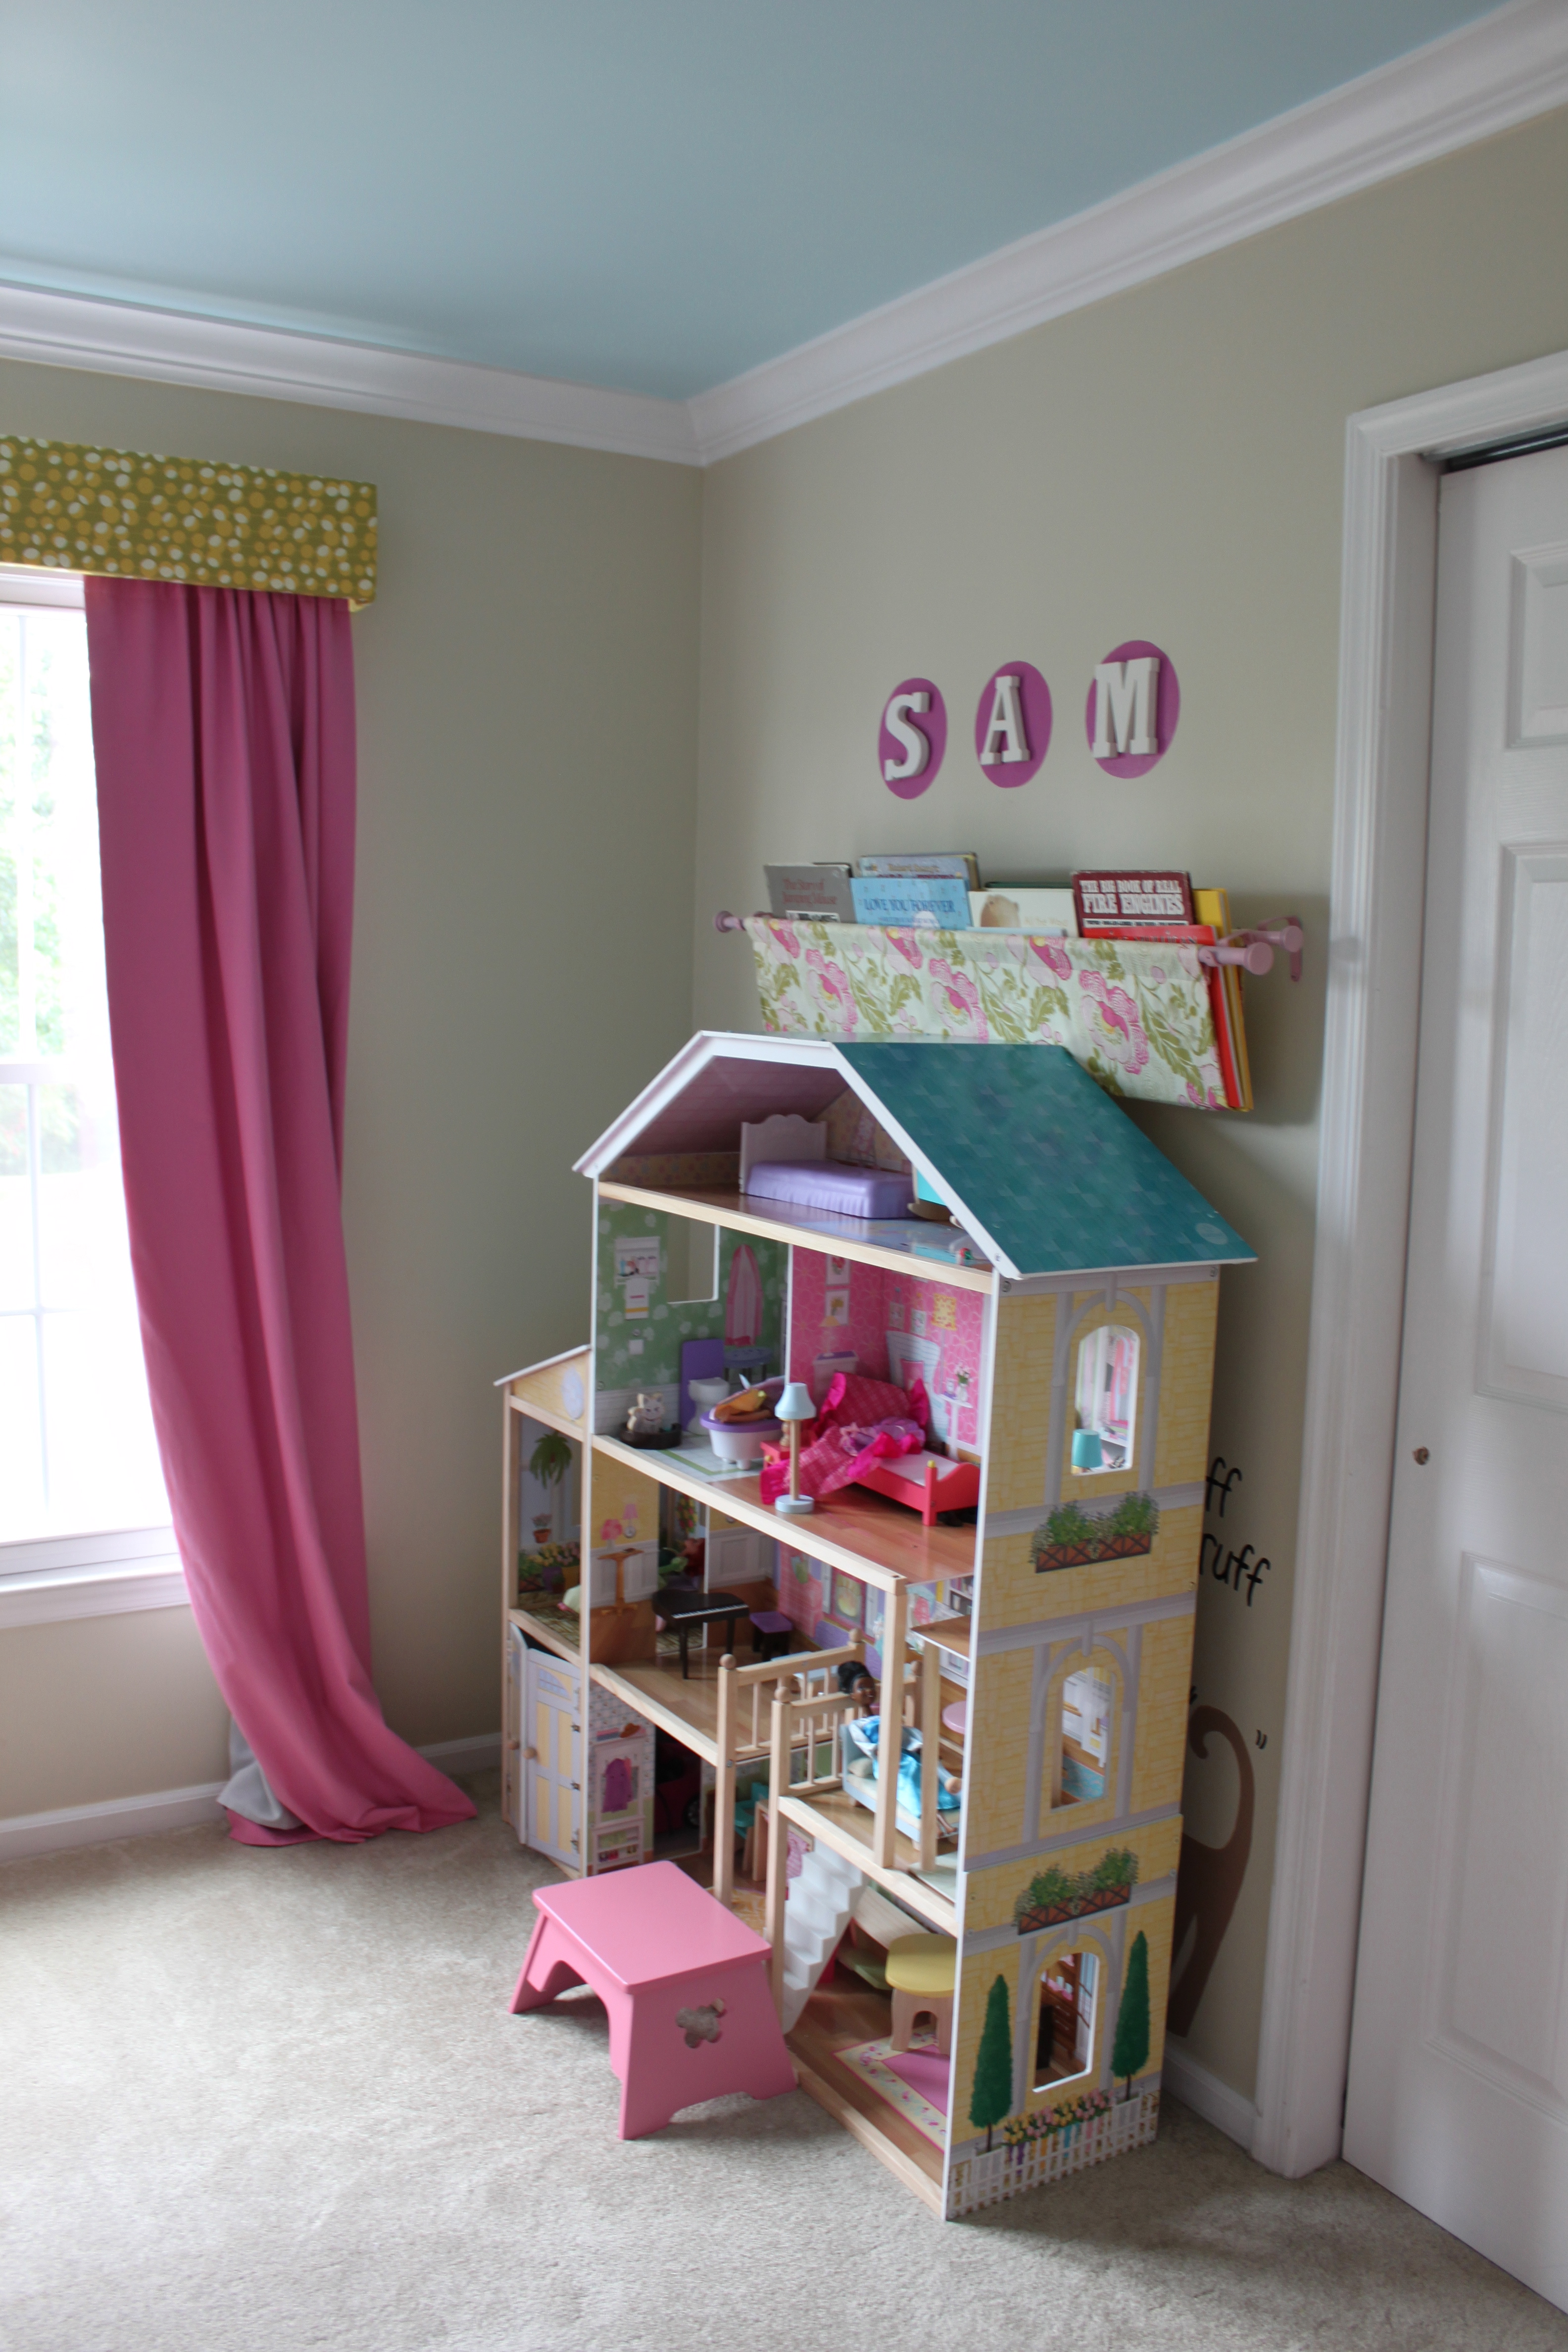
One of my favorite changes…replacing the cute but tired ‘cherry blossom art’ that Sam & I made with a fun yet modern kid’s gallery wall! 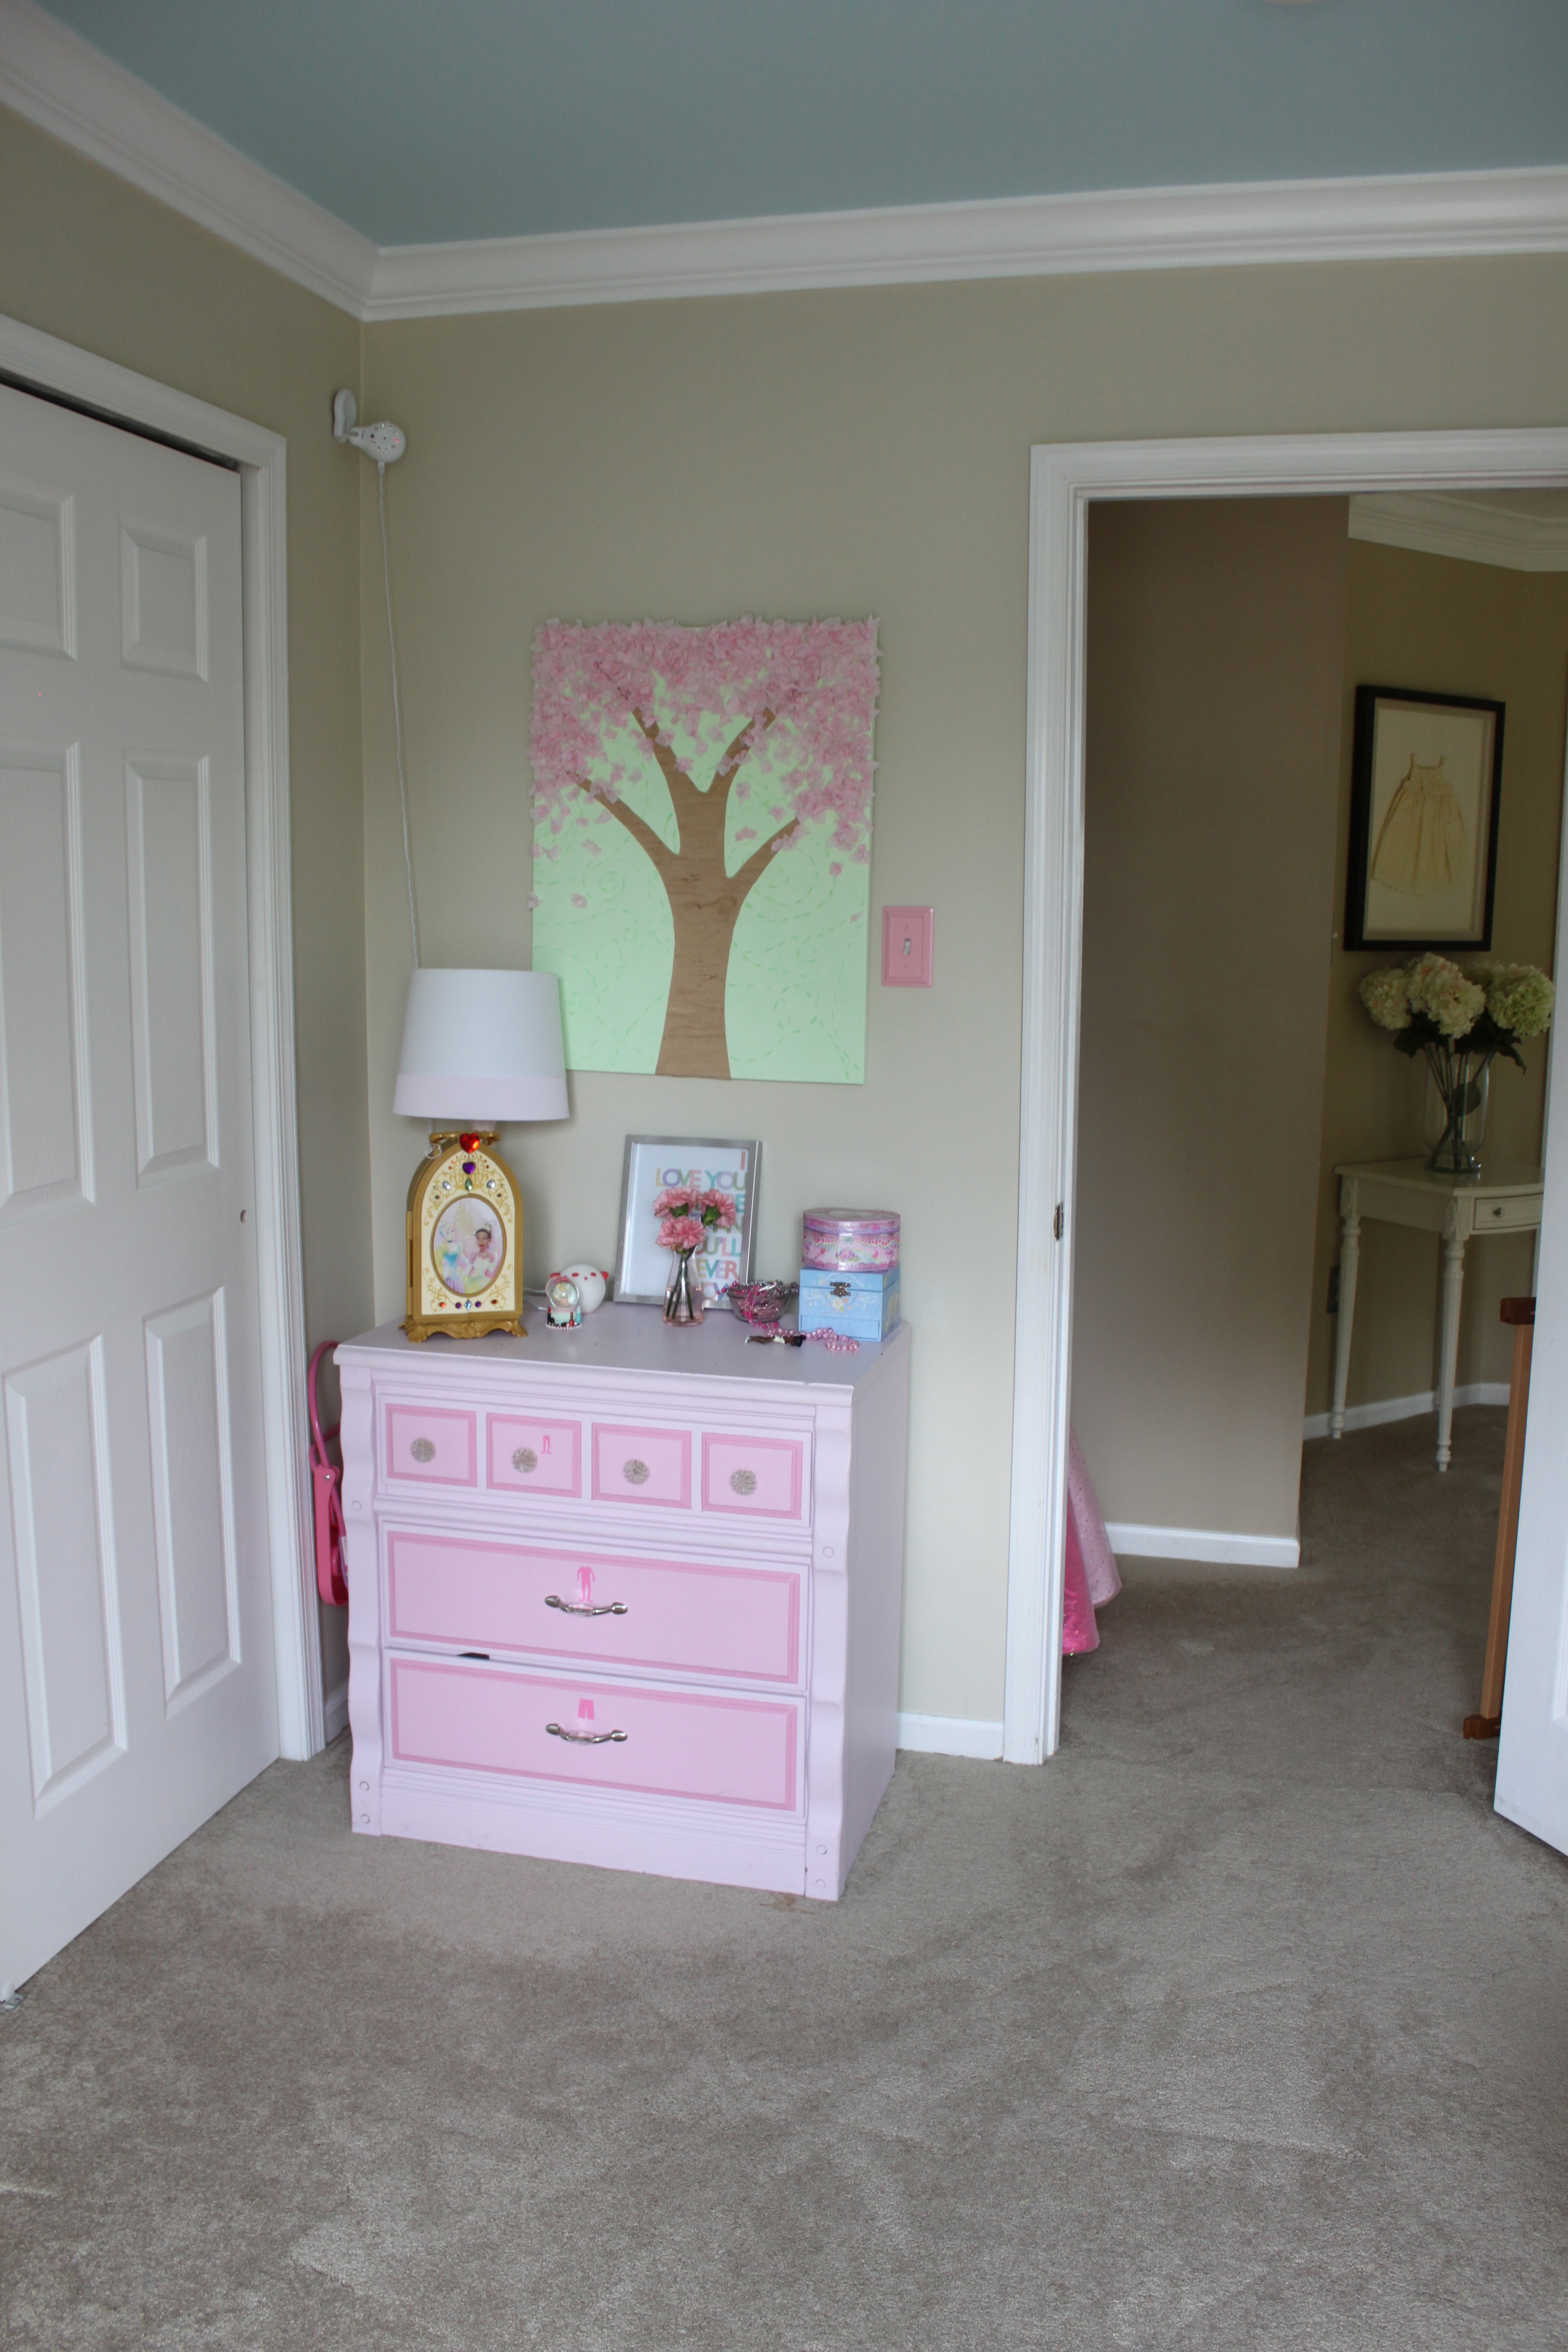
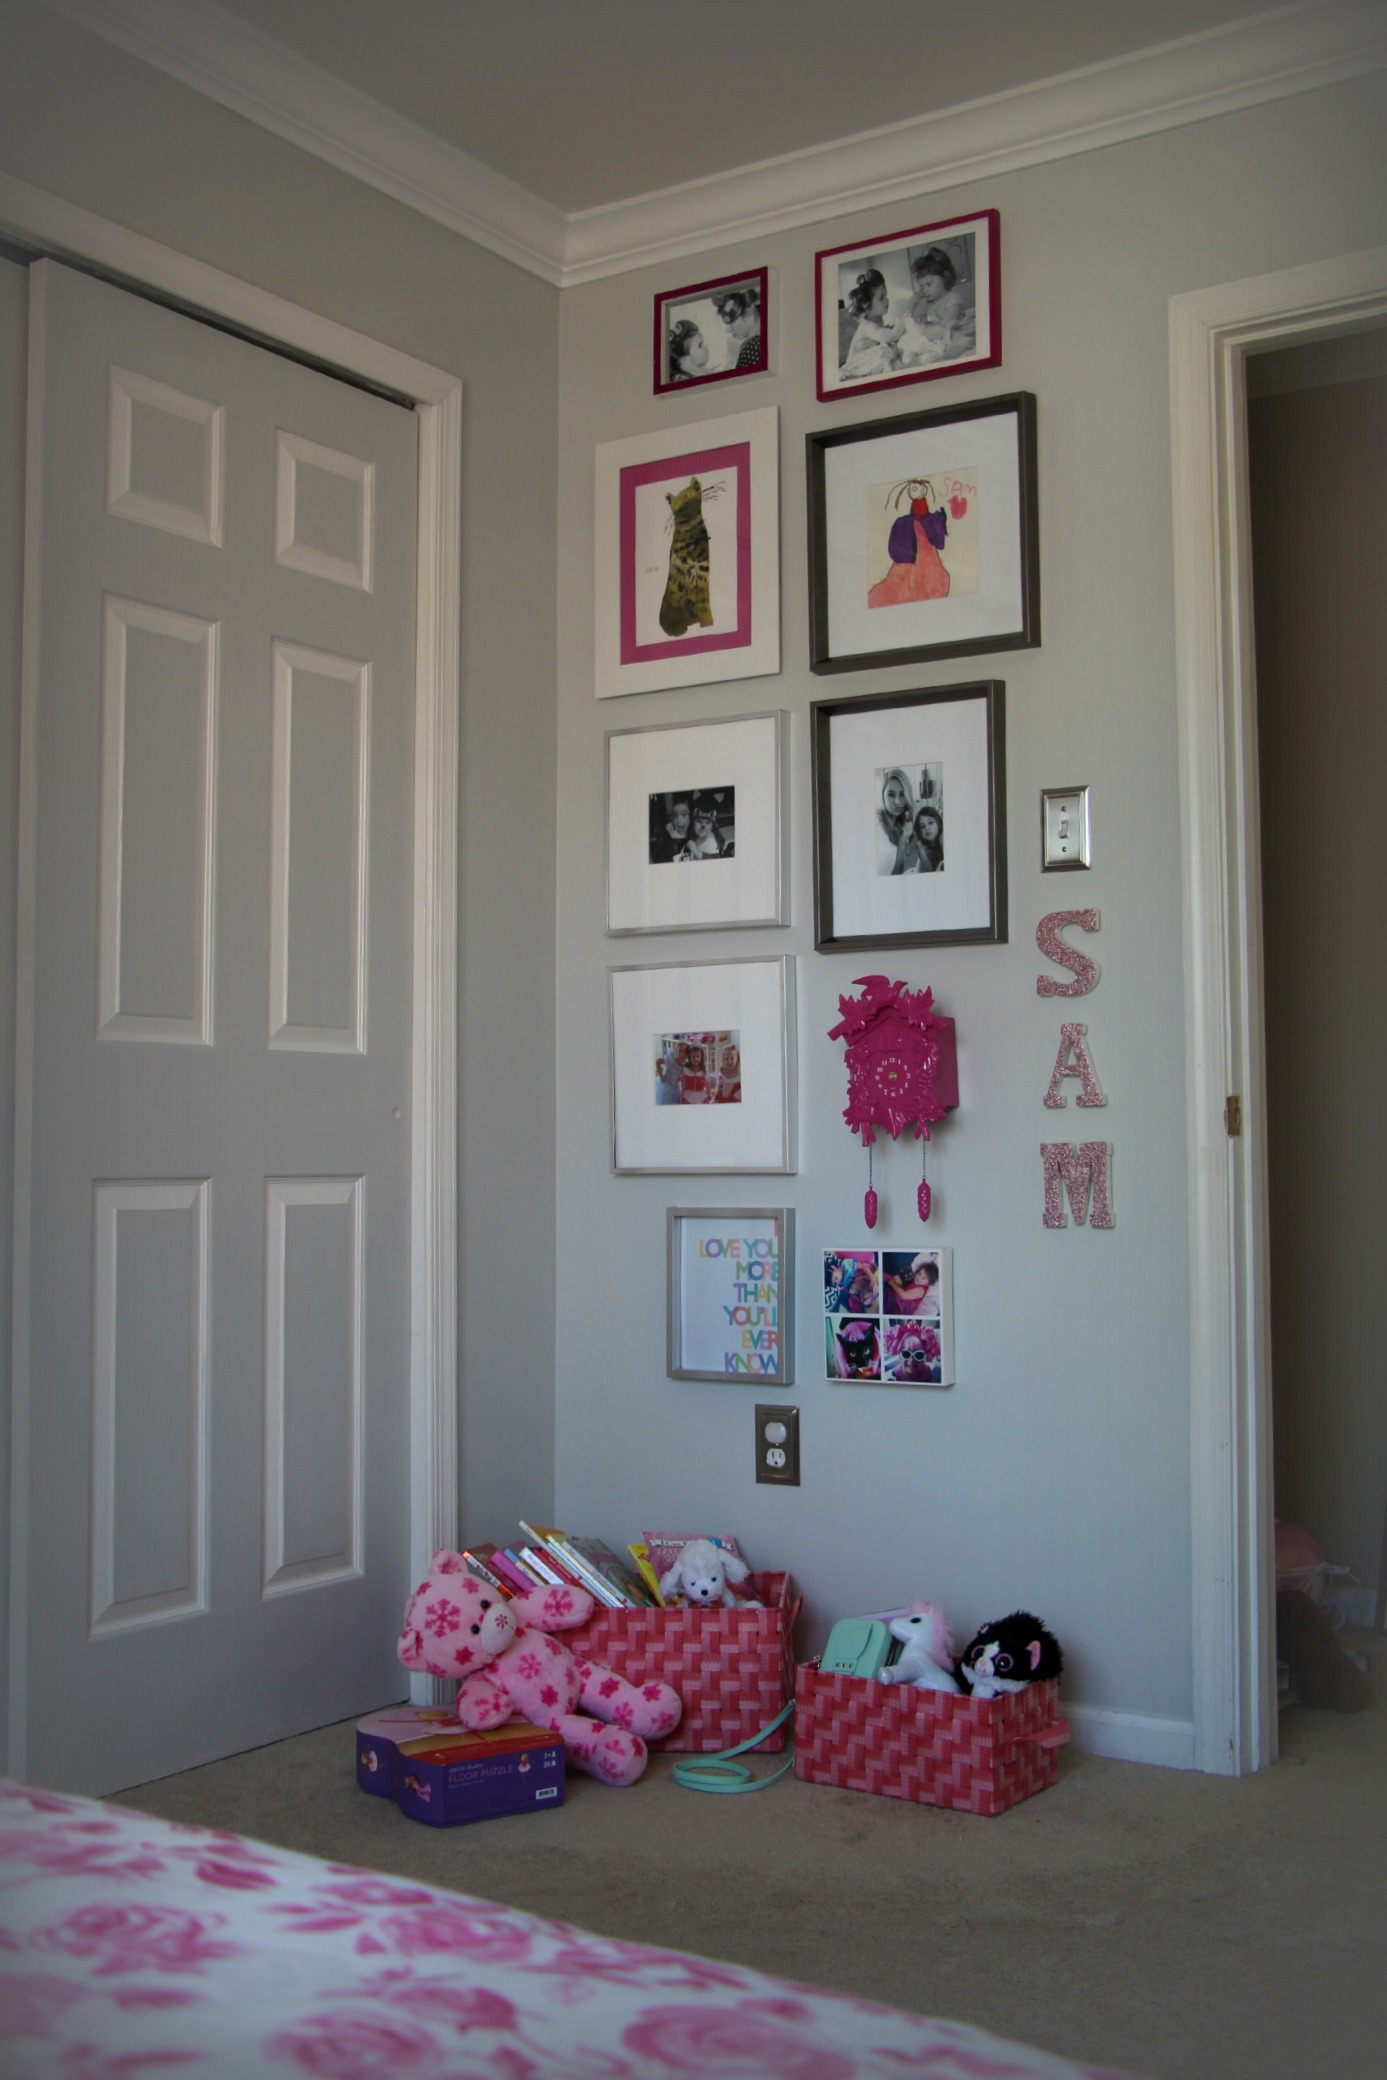
Sam loves sitting on her floor & looking up at the pictures of her with all of her little friends…I wonder if they’ll stay friends & one day look back at the pictures of them as 4 year old besties & smile. Who knows…
Another tip? There really isn’t a ton of blank wall space in Sam’s room & what was left naked were the white sliding closet doors. It felt like their starkness really drew my eye away from the other beautiful things in the room, not to mention that big block of white really broke apart the flow of the room. So I decided to paint them! They’re the same ‘Heavy Goose’ grey as the walls & although at first P thought I was crazy he now agrees that now they blend in to the room instead of being an eyesore. I also think leaving the trim detail white gives them a built in-ish look. 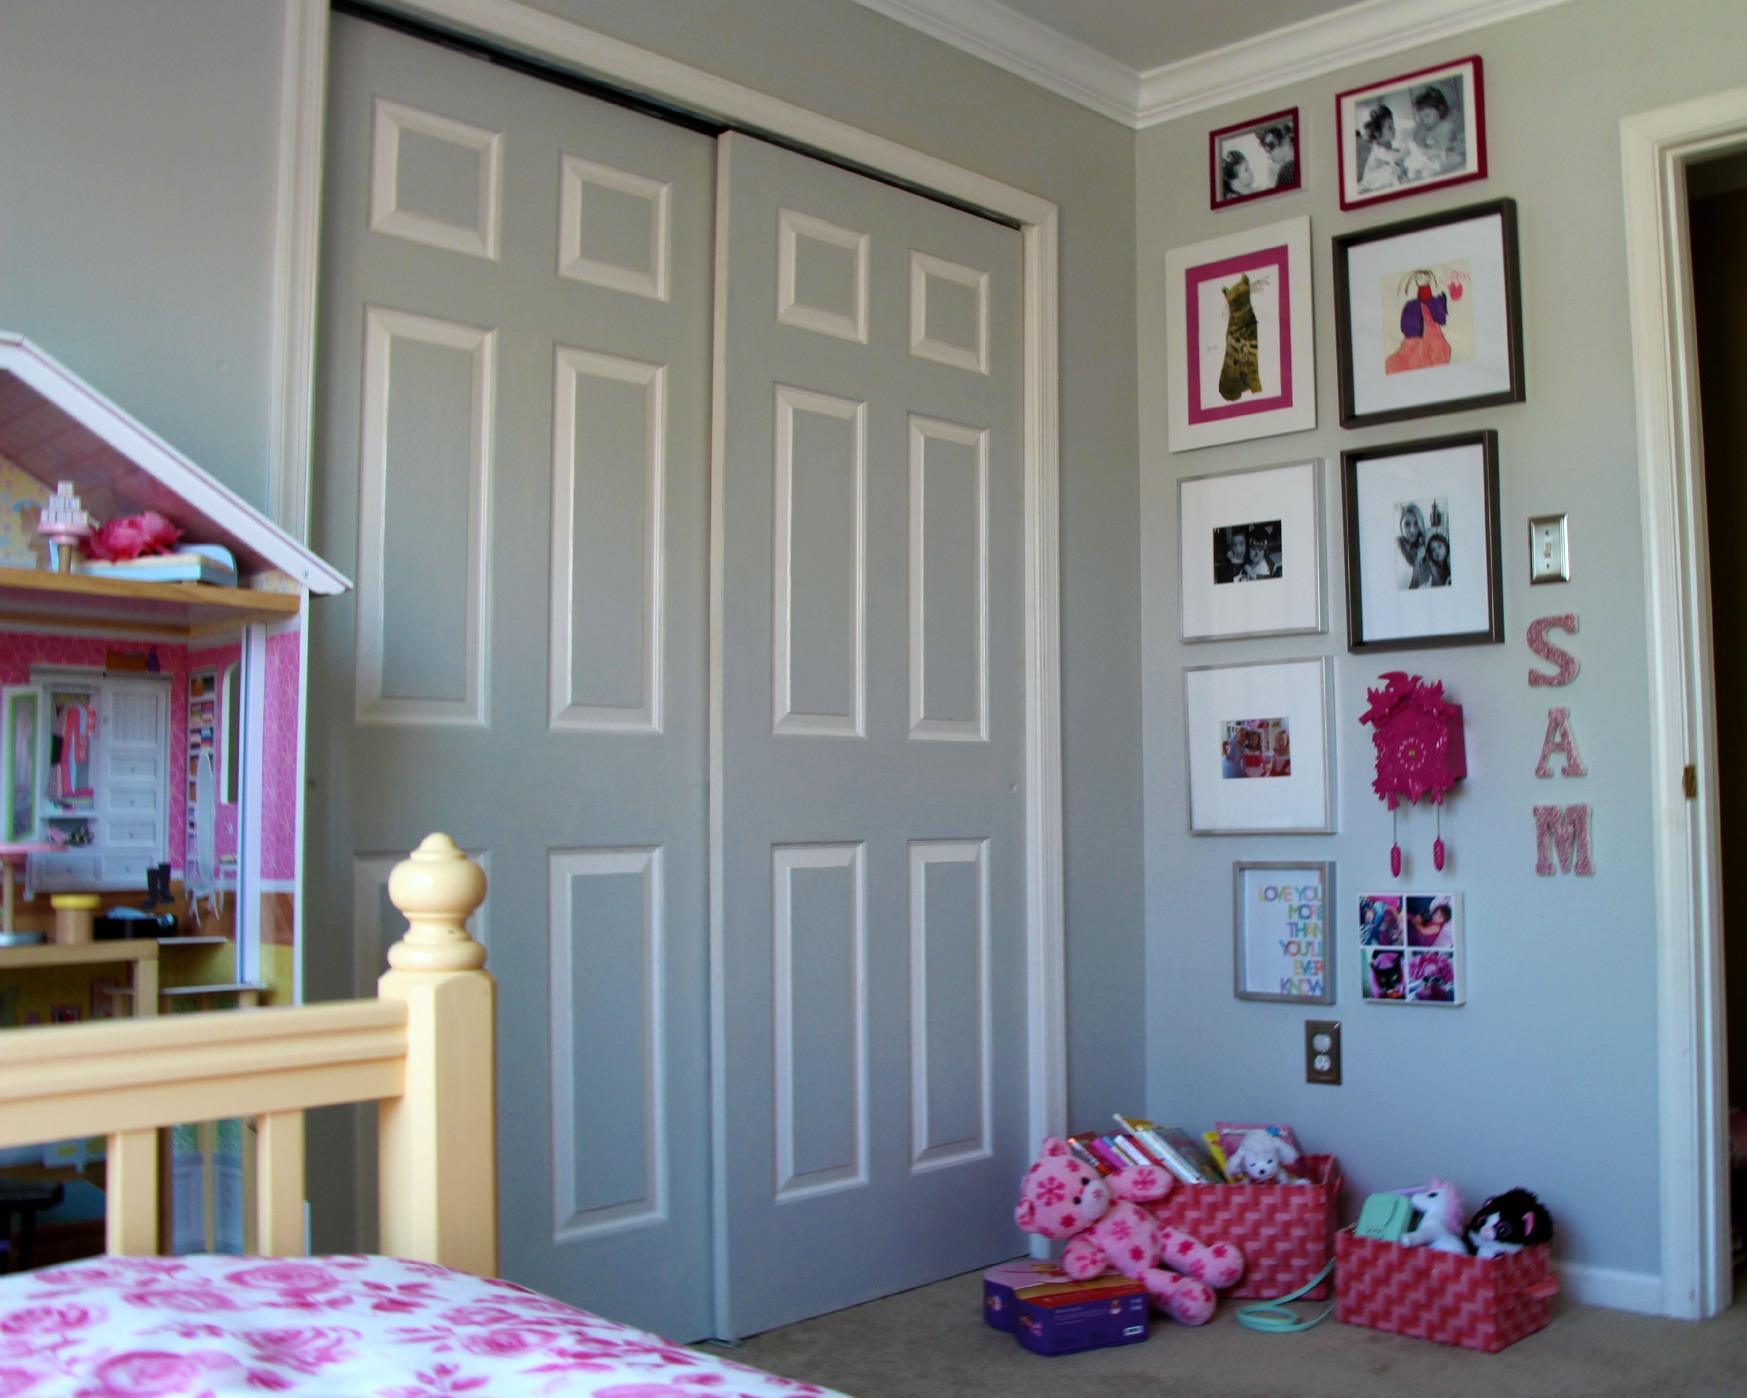
A few DIY projects in the room…
Remember those “S A M” letters from the circle wall art? They were originally plain white & were from the woodworking aisle at the craft store, but after a coat of mod podge & some Martha Stewart glitter they add a sparkly, pink, personal touch to the wall. Also, do you recognize those instagram pictures?? They’re from this Prinstagram post I did, I just glued 4 of them onto a canvas. 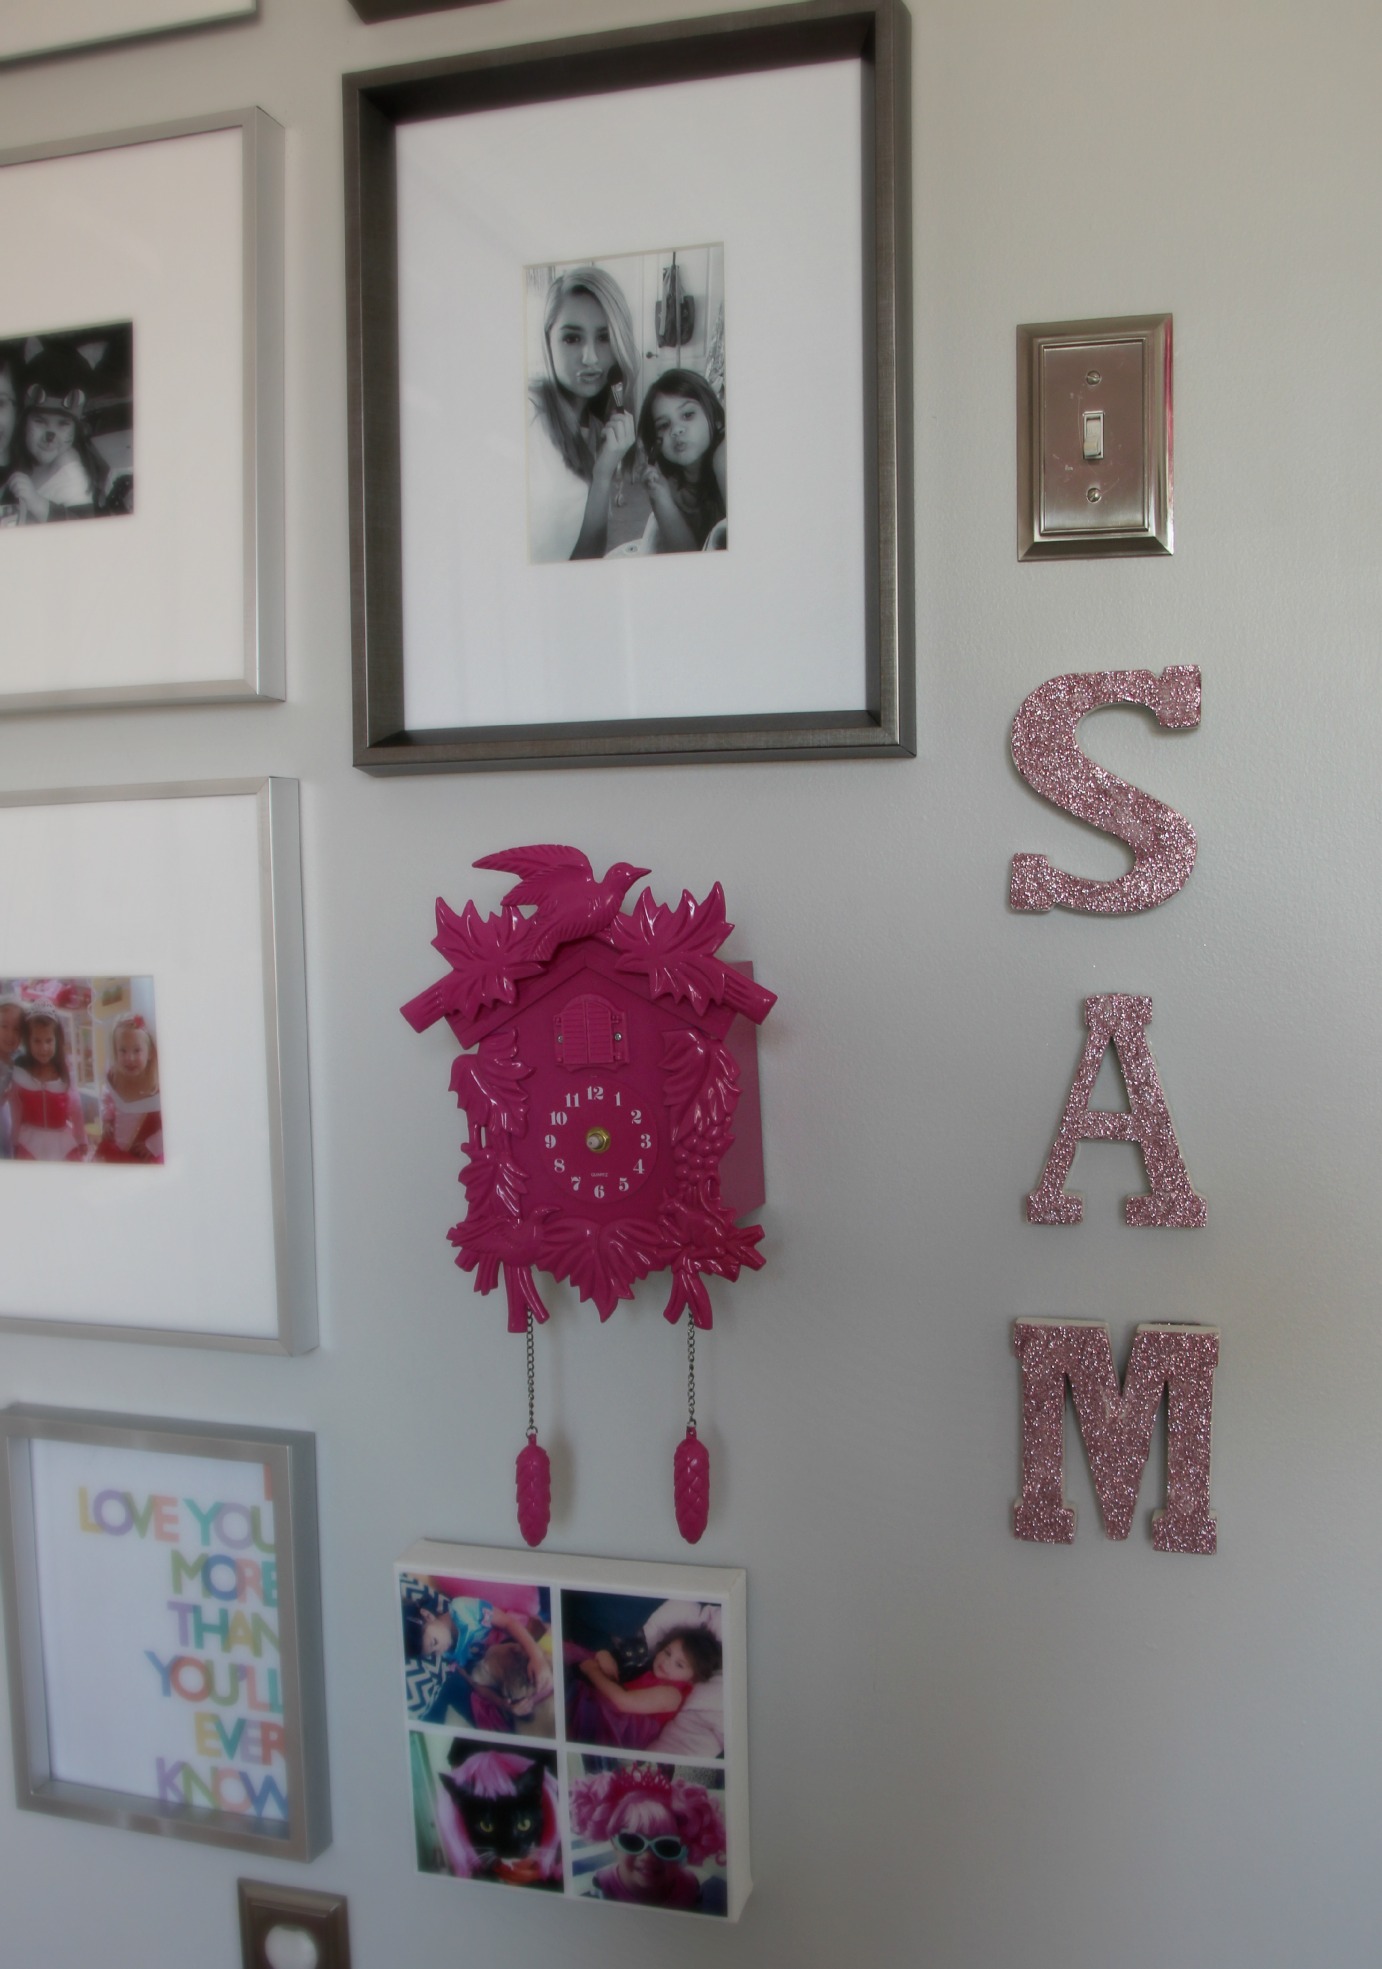
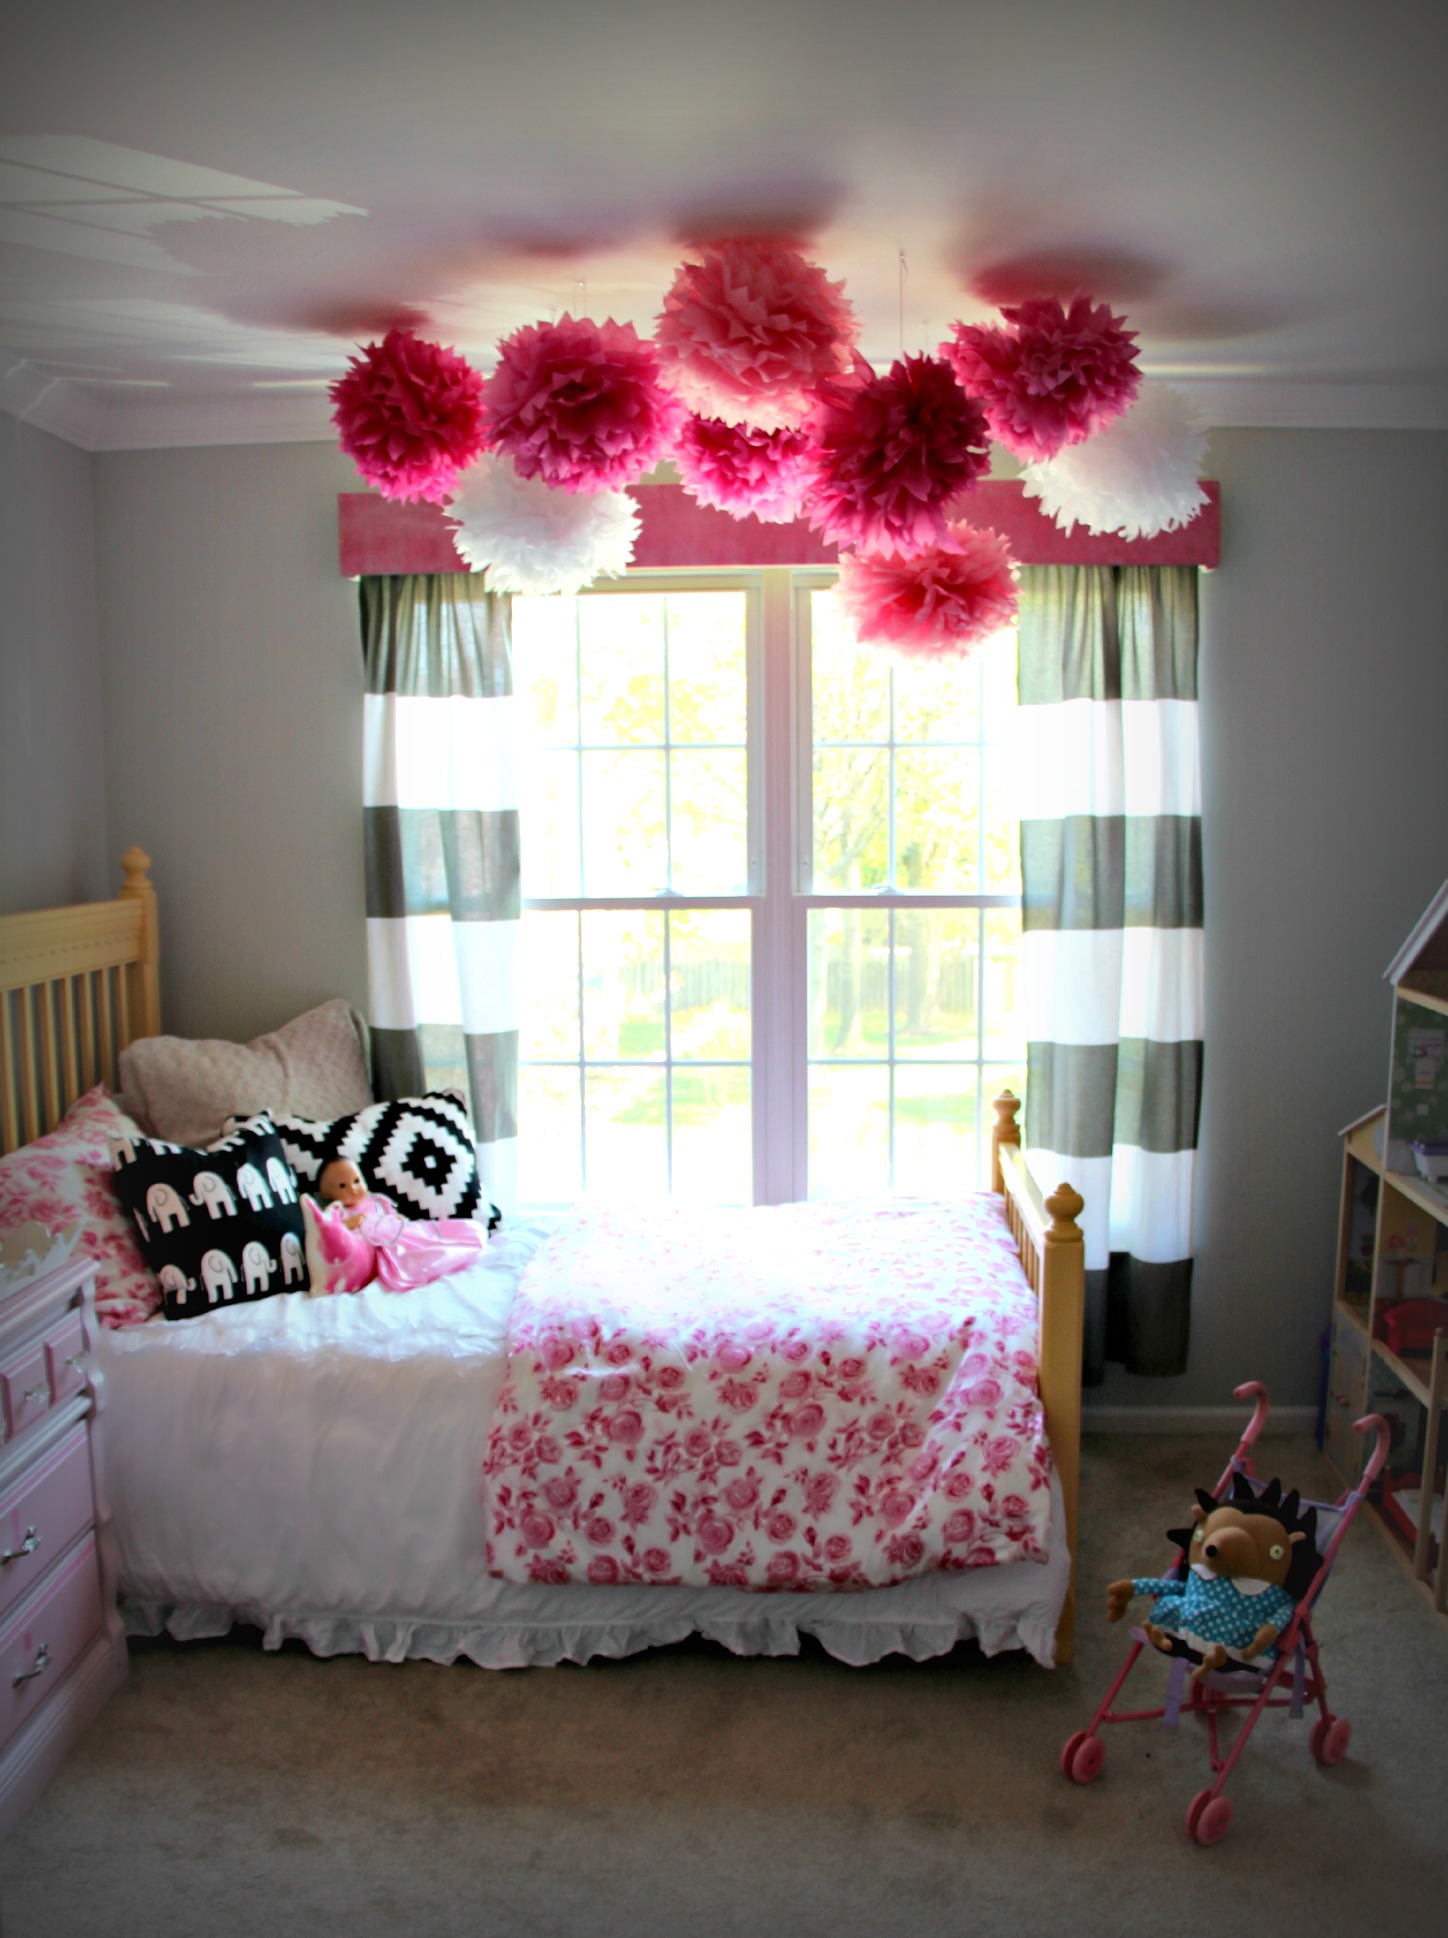
Instead of taking down the valance I had made in this post & recovering it, I just painted the entire thing while it was right up on the wall! This is one of the few times that my laziness has paid off. I rolled a sponge roller onto some globs of various pinks & white paint & then rolled it onto the polka dot fabric, the result was a completely awesome graffiti type print that gave a barely there peak at the whimsical dots beneath.
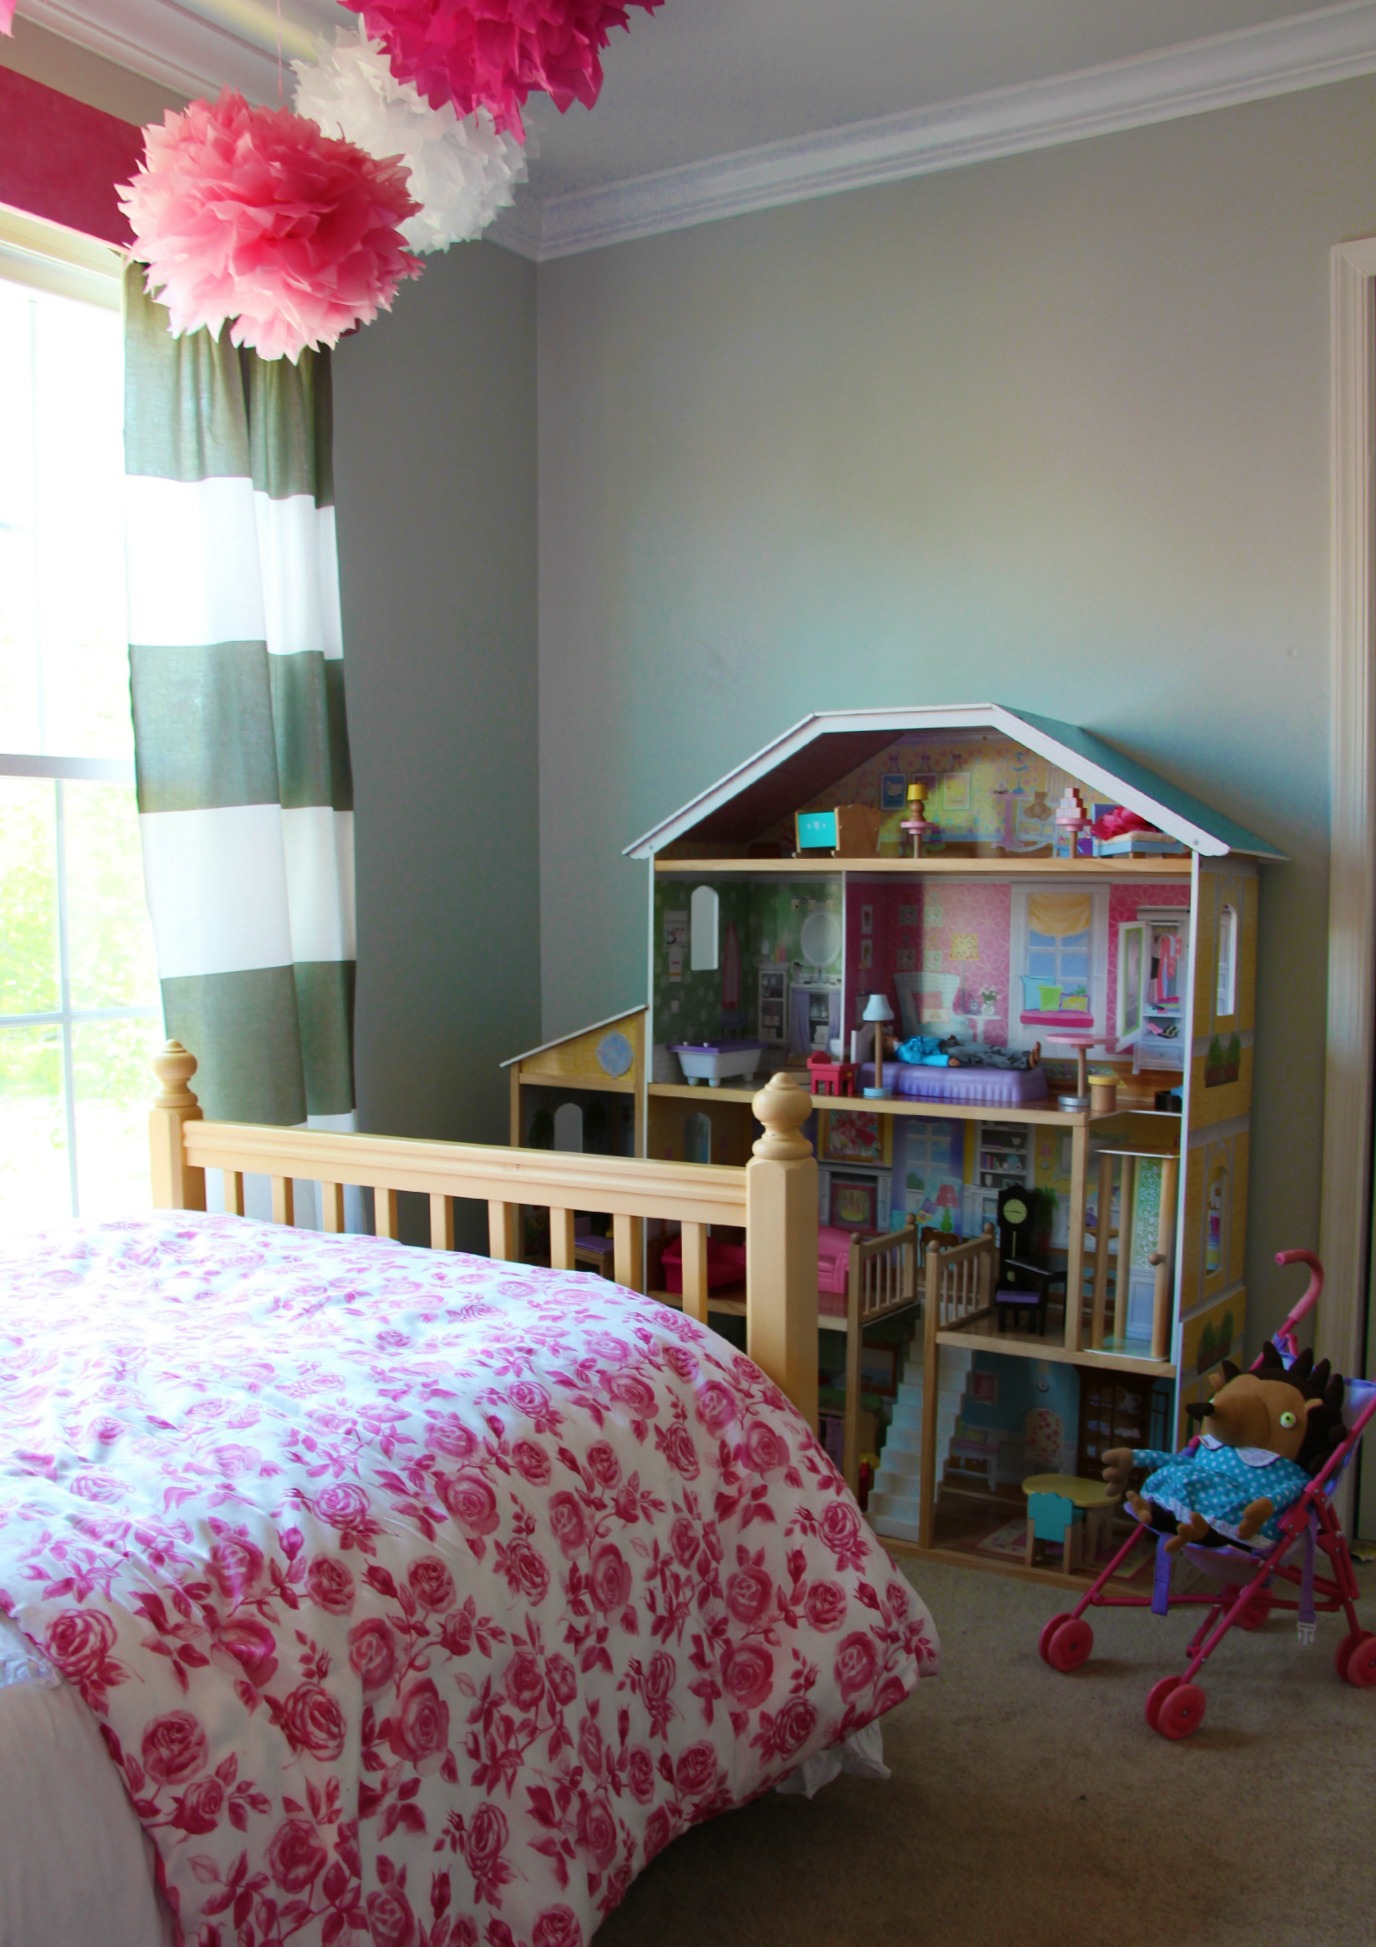
 (Sam’s view 1st thing in the morning…when she sleeps in her bed that is)
And those window panels you ask? Don’t you love them?? They’re a shower curtain! I swear! I couldn’t find a nice wide graphic stripe window panel anywhere but had remembered seeing a West Elm shower curtain that was exactly what I had in mind. After a straight cut down the middle & some hem tape to seal the edges it was completely transformed into it’s new life as a window covering. Love that!
Finally, we couldn’t call this a princess room, or ahem, the not-too-princess room if it didn’t have some sort of princess touch… 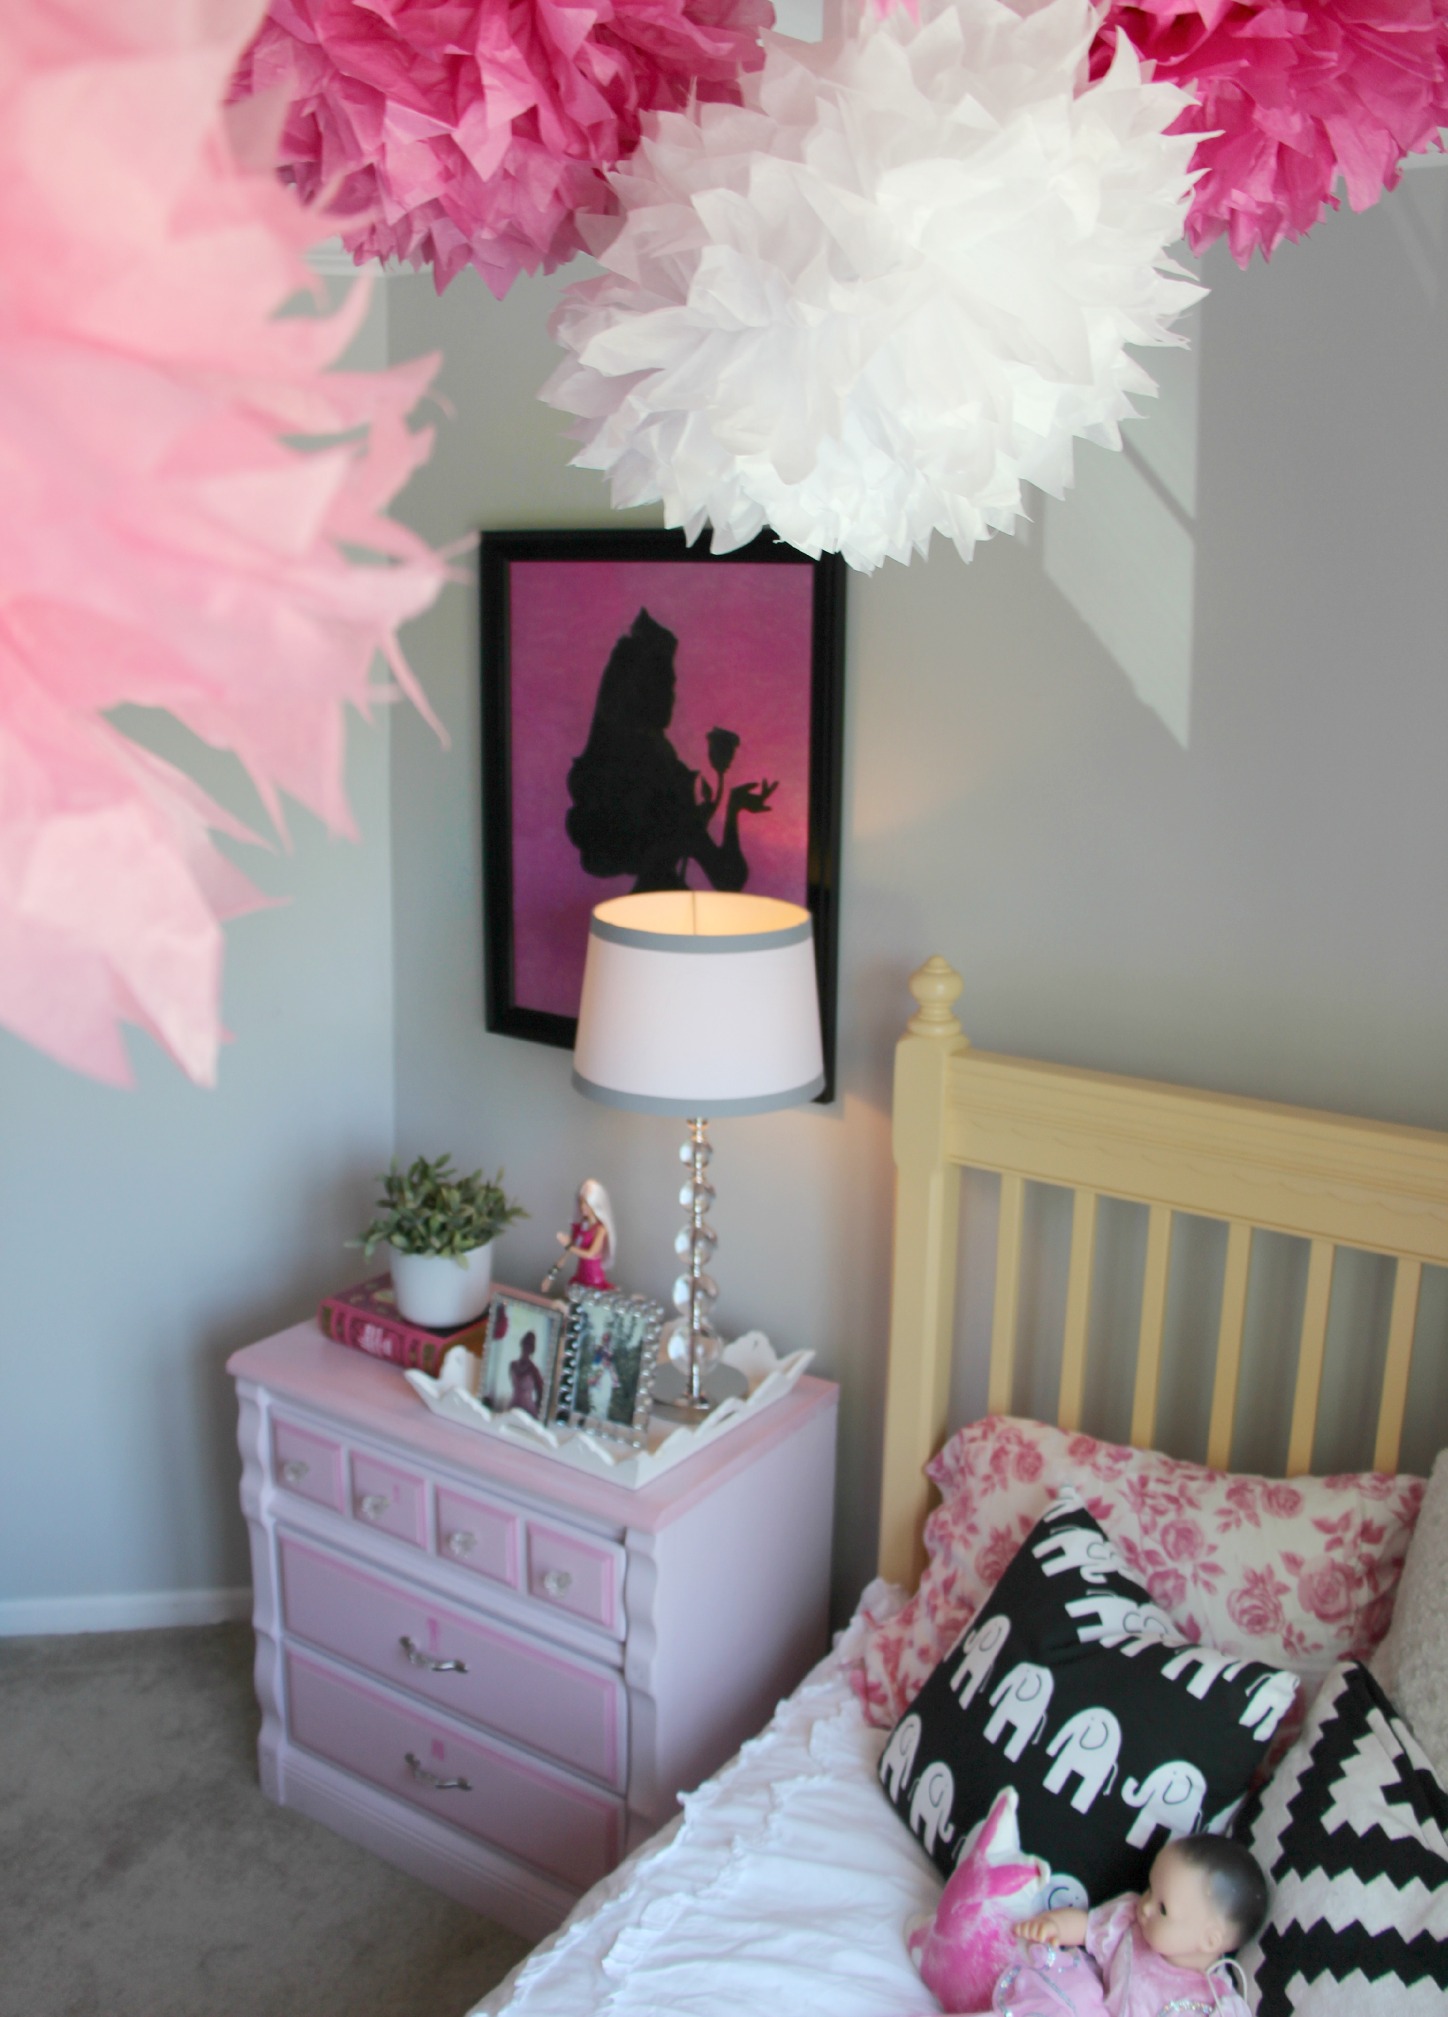
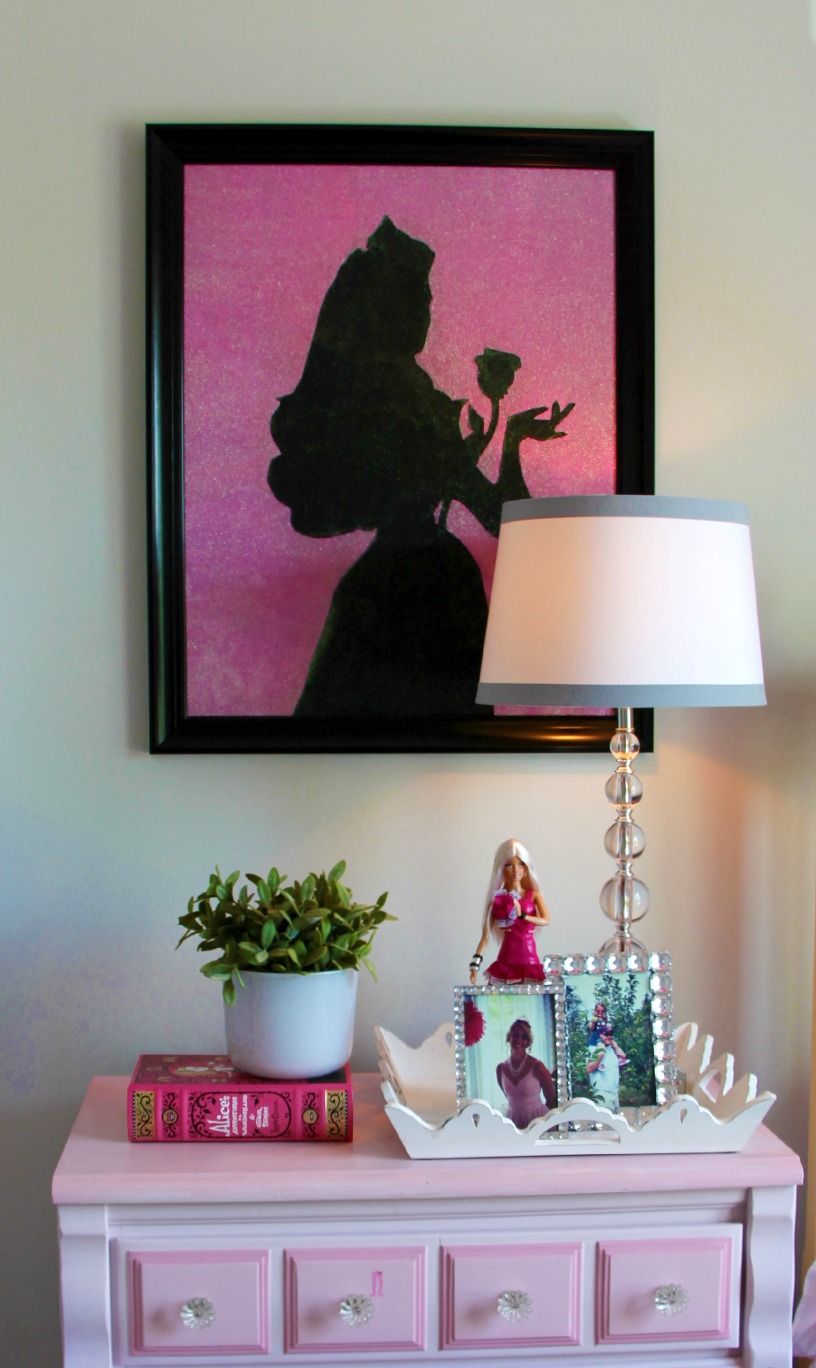
I made this over the last two nights from mod podge, an overhead projector & an obscene amount of glitter that got EVERYWHERE. I do believe there were people at P’s work that assumed he spent the night in a stripclub. You can find the full Princess Silhouette Glitter Art Tutorial here!
In case you’re saying to yourself, ok Natasha, this looks lovely and all but where are all the toys?? A kid’s room can’t just be pretty, it needs to be realistic too! I just know there’s a plastic Barbie dreamhouse somewhere in there…
You know what, you’re right! Except it’s all hidden under the bed…a few easy to pull out under the bed storage tubs are my new BFFs. 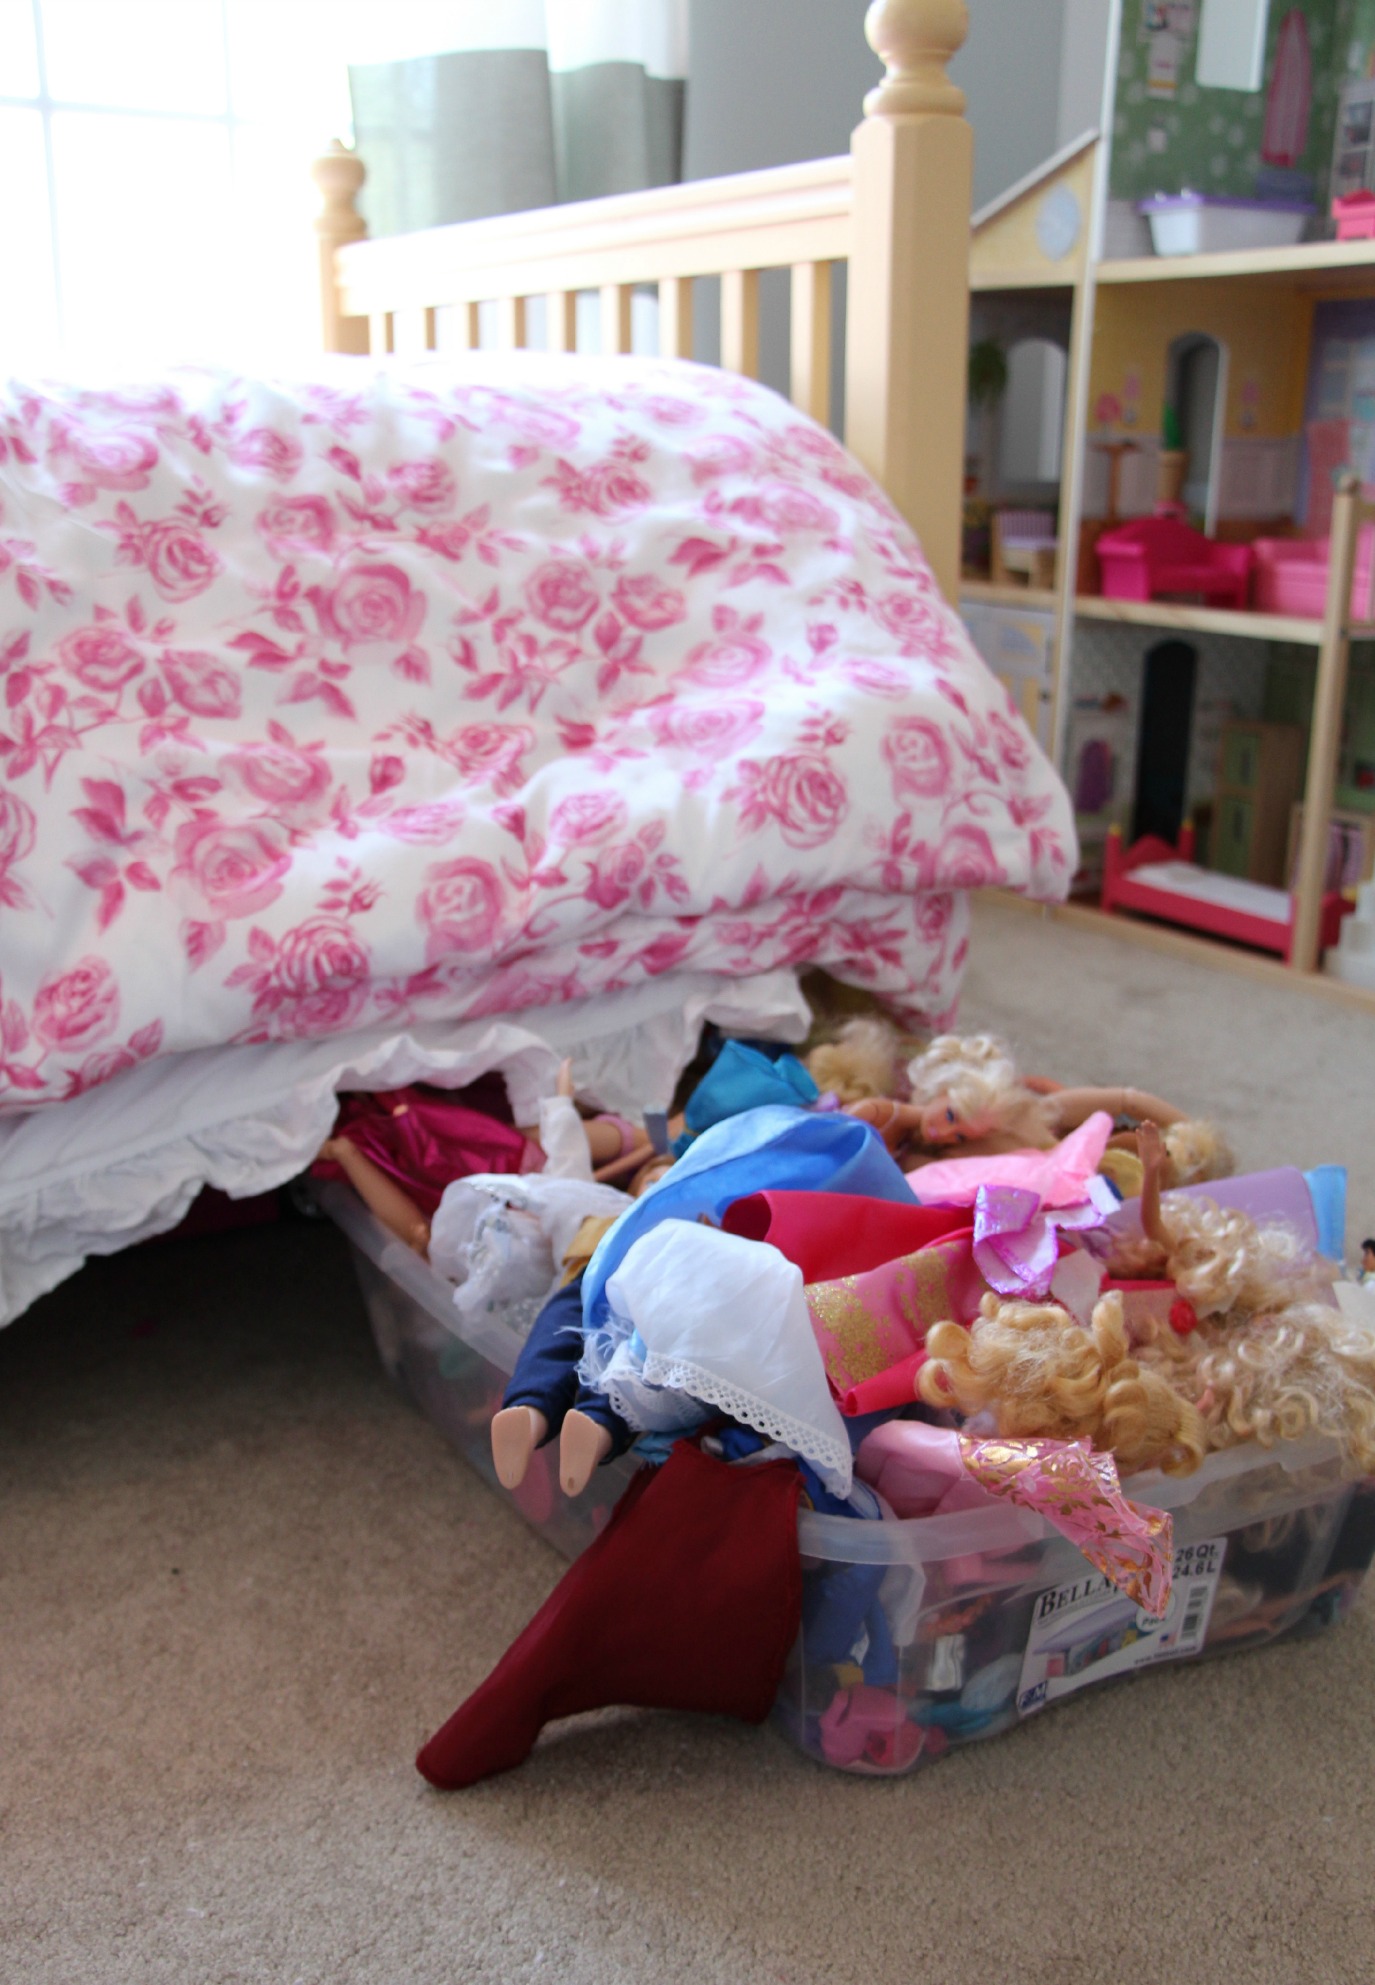 They not only keep everything from dress up clothes to dreaded Barbie shoes organized (for a little while at least) but they’re also located conveniently enough for little hands to pull them in & out. Mommy like them in.
Sooo, SPILL! Do you like it??? Did I pull off making a girly girl’s bedroom gray?
If you’d like to know more specifics on anything from the wall paint color to the little hot pink bunny on the bed you can check out my Houzz Ideabook here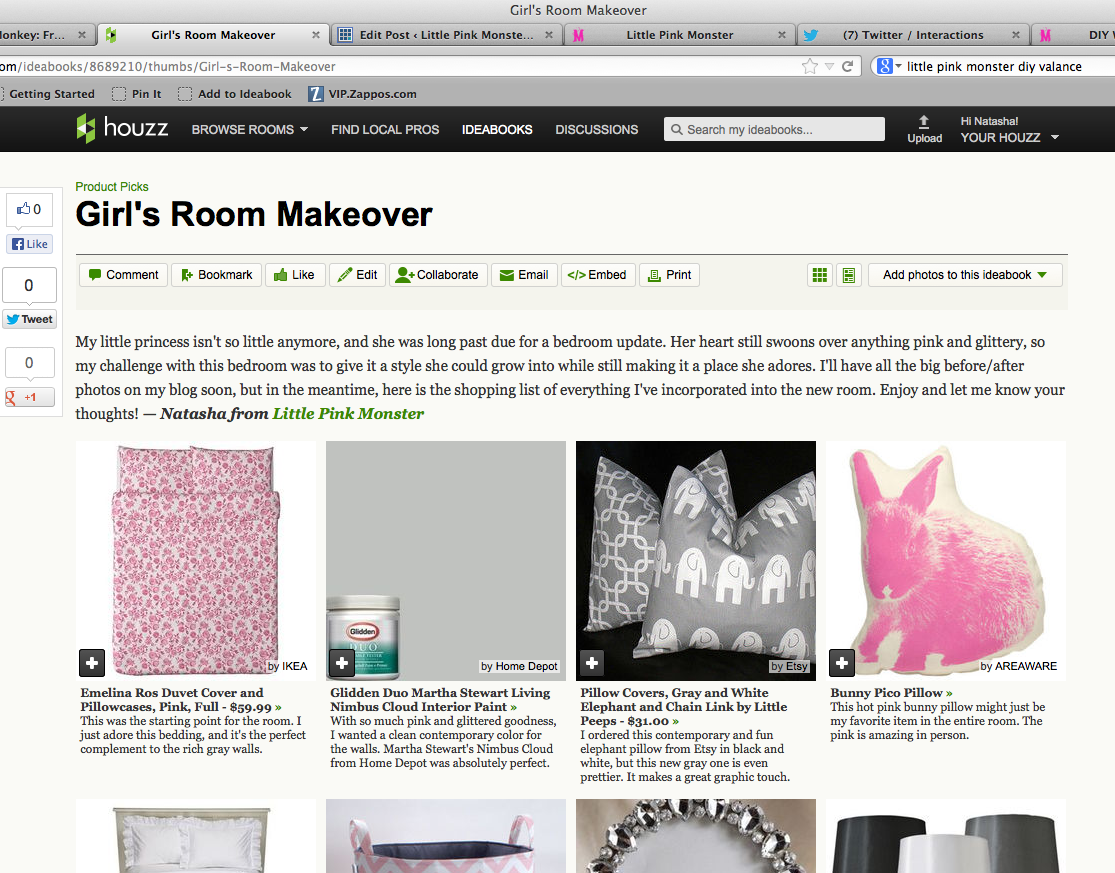


LOVE, LOVE, LOVE! This is absolutely BEAUTIFUL. It’s not over the top. It’s simple and straight to the point. GREAT job!
I loooove it!!!
It looks fantastic! You did such a great job! And it looks very easy to change the decor with her new fancies. The gallery wall is my favorite part.
Amazing! You’re so creative! I can’t wait for the princess silhouette tutorial, I must make one for my own!
Fantastic. Beautiful. Practical!
Adopt me.
So stinkin’ cute! And do my eyes deceive me or did the doll house bedroom get a makeover too?? =D
HA! It’s quite possibly that Sam got the redecorating bug & took it out on her dollhouse!
Hahaha it totally did get redone!
HA! It’s quite possible that Sam got the redecorating bug & took it out on her dollhouse!
I don’t like it, I LOVE it!! So fantastic, I especially love the bedding (the pillows are awesome) and the photo wall. Well done!!
Looks great!!!! Love the Valance and the curtains and the personal touches with pictures on the night stand and picture collage!!!
Love it!! It’s absolutely adorable!! Just one thing though, is the “S” in Sam upside down? Or is that just my eyes playing tricks on me?? Your posts are always so awesome!!!
Hahaha, that so funny that you noticed that! You’re a very observant girl! You know, I actually wondered the same thing when I was hanging it, the darn think didn’t look quite right either way! Oh well (:
Hehehe Either way it looks awesome!! And I’m sure Sam LOVES it!! 🙂
SAM is one LUCKY Girl! What a beautiful room. It has just enough pink and princess feel to it!
Her room looks beautiful!!!!
Love the gallery wall!!! It’s perfect! The room turned out great!
Natasha, How amazing!! You really should be an interior designer! I absolutely love it and I bet Sam does too! But the best thing is when she’s over the pink, princesses, glitter faze (if ever a girl is) the gray walls are so completely versatile. Great job lady!! I love the Princess Aurora silhouette!
Looks great! I have ANOTHER little boys room to decorate…thinking I should get started on that since he’ll be here in about 7 weeks. Lol. :/
Ok, 1, CONGRATS!! I just love love love the video you put up on the blog, put tears in my eyes! And 2, you’ve had me sitting here with the most confused look on my face because I kept thinking, only 7 weeks until he gets here?? But I just saw here, how the heck did she hide her belly! Now that I know you’re due in december though I’m gonna guess you meant 7 MONTHS. (:
Love this room. I’m sure Sam loves it as well. I’m 36 and married and want my bedroom to look like this. Great job Natasha.
Super cute! Did you make the pillows as well? I also was thinking the same for my windows, in terms of the shower curtain idea, because there are just some ridiculously cute shower curtains these days that I’d love to put in the bedroom! Can’t wait for the princess tut, I’m sure my niece will want one immediately, though more likely she’ll want Peter Pan. 😉
OMG Natasha I’m not even pregnant yet but we are trying and I already know I want you to design my nursery haha! Where did you get that bedding??
LOL, you got it! The bedding is from IKEA!!
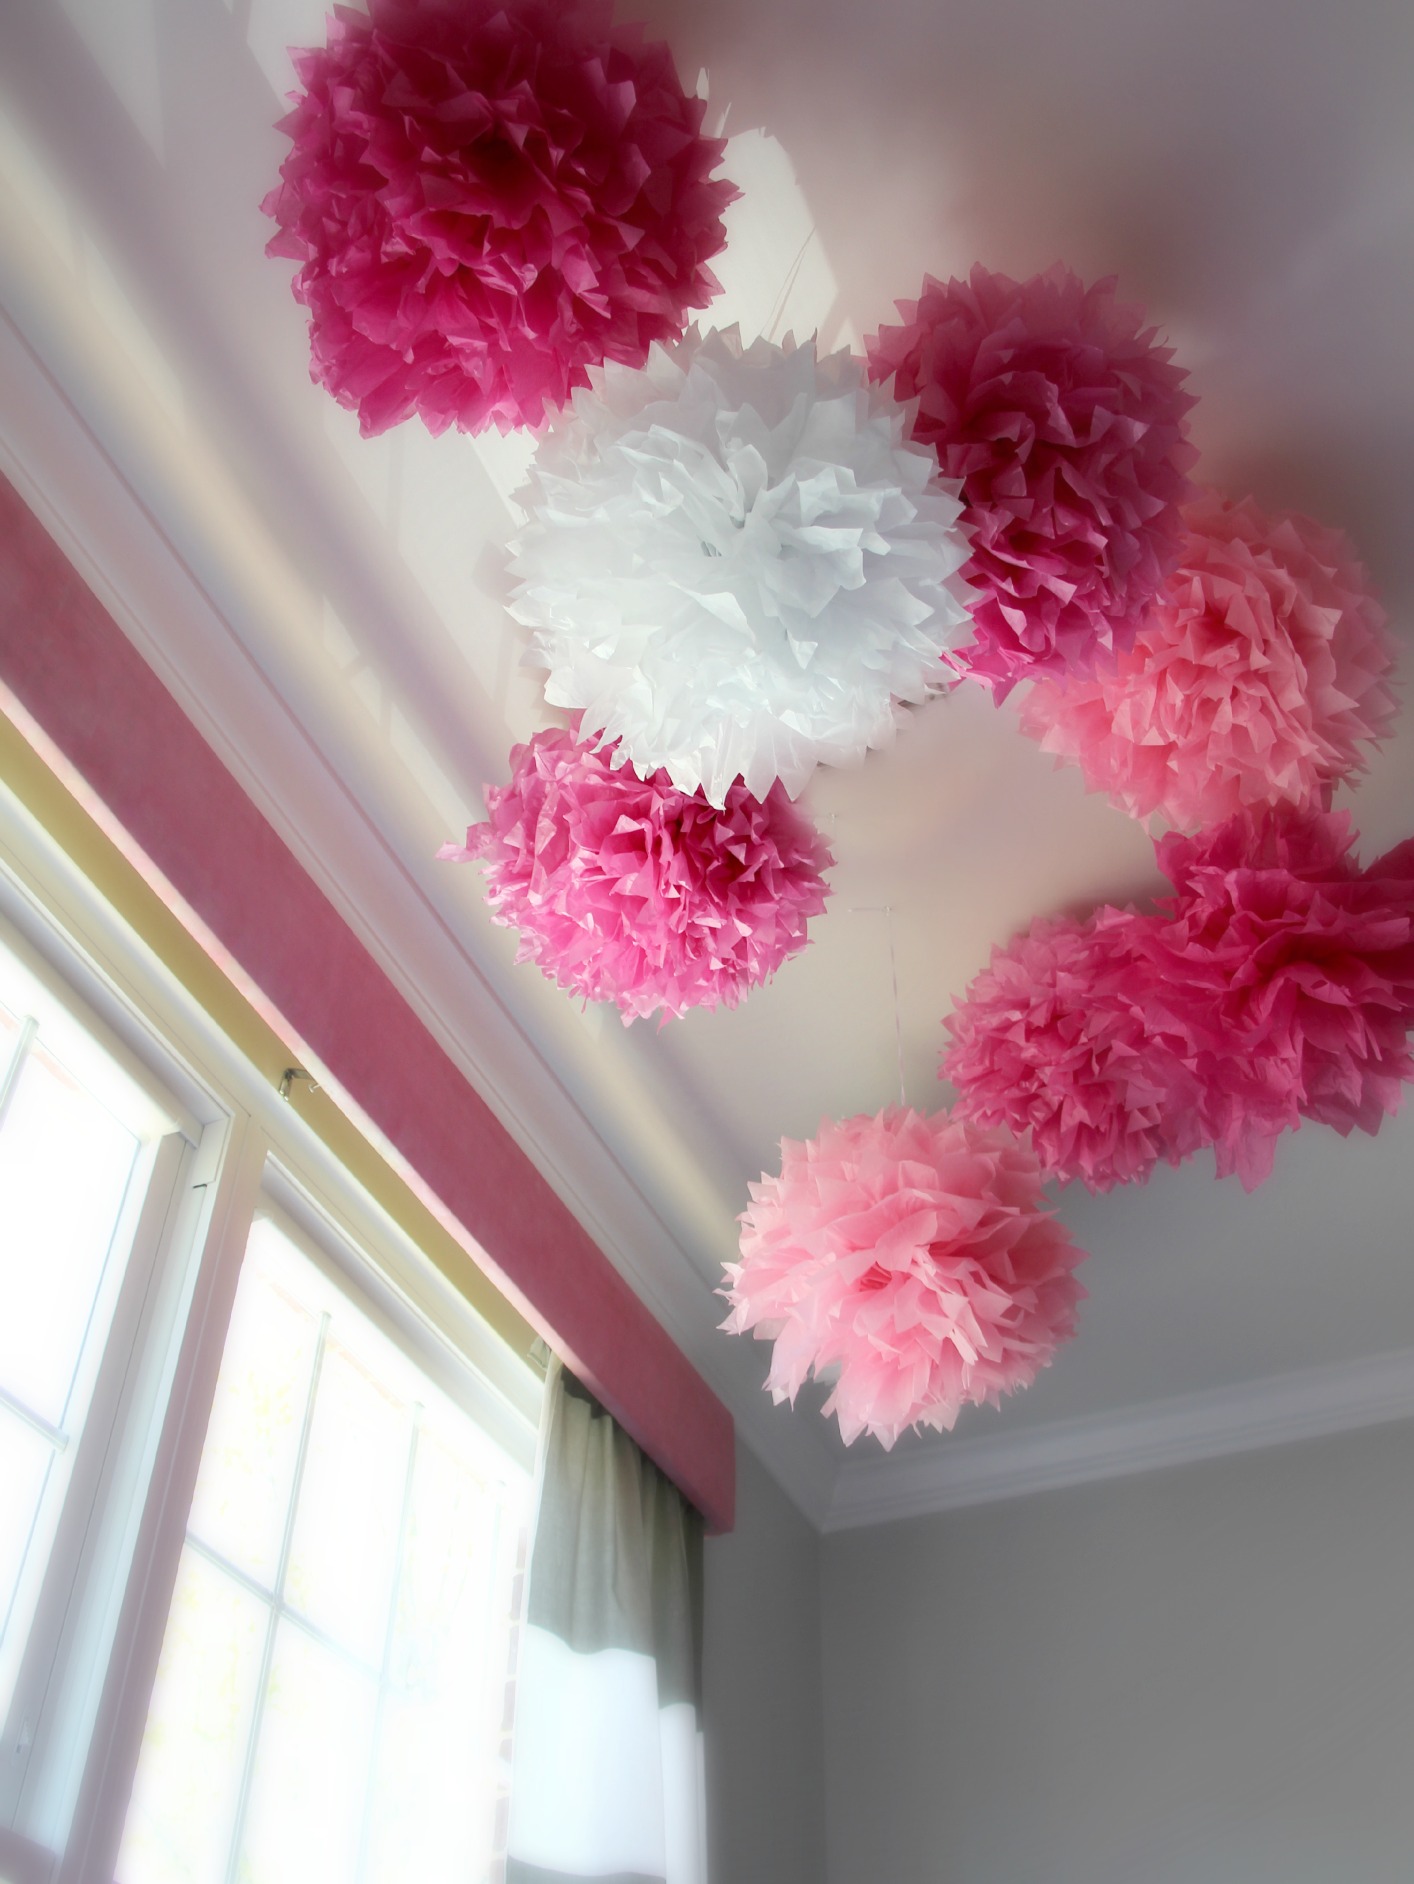
LOVE this! where did you find the Pom poms hanging from the ceiling? so cute!
Thanks! They’re Martha Stewart Pom Pom Flower kits from Michaels, I used them for Sam’s 4th birthday party & just kept them. (:
Hey Natasha,
I’m getting ready to re-do my daughter’s room and love the pom poms on the ceiling. How did you hang them?? Also, you could totally sell a ton of the sleeping beauty pictures – love it!!
Ohhh how I love those pom poms! I used clear push pins to hang them & beading string (fishing line), super easy & doesn’t leave a big hole on the ceiling. Also I think it’s key to hang them at varying random heights too. Good luck! She’s going to love staring up at them (:
Thanks for this “not too princess” post. The photos of the bedroom look great!
Awesome job! I found your blog while doing a Google Image Search for “disney princess silhouette” because my four year old daughter has also out-grown her adorable owl/butterfly/flower/bird themed room and now wants a Disney princess themed room that’s pink, pink and more pink with a bit of purple. Like you, I was having trouble stomaching the idea of a brightly colored cartoon version so I’m working on a mood board for Pottery Barn Kids meets Disney Princess and hope to have everything ready for a Christmas morning reveal….thanks for the inspiration! (and I totally had tissue paper poofs on there already, thanks for the confirmation that that’s a good idea!)
You’re so welcome! Be sure to send along some pics with the big reveal! (: