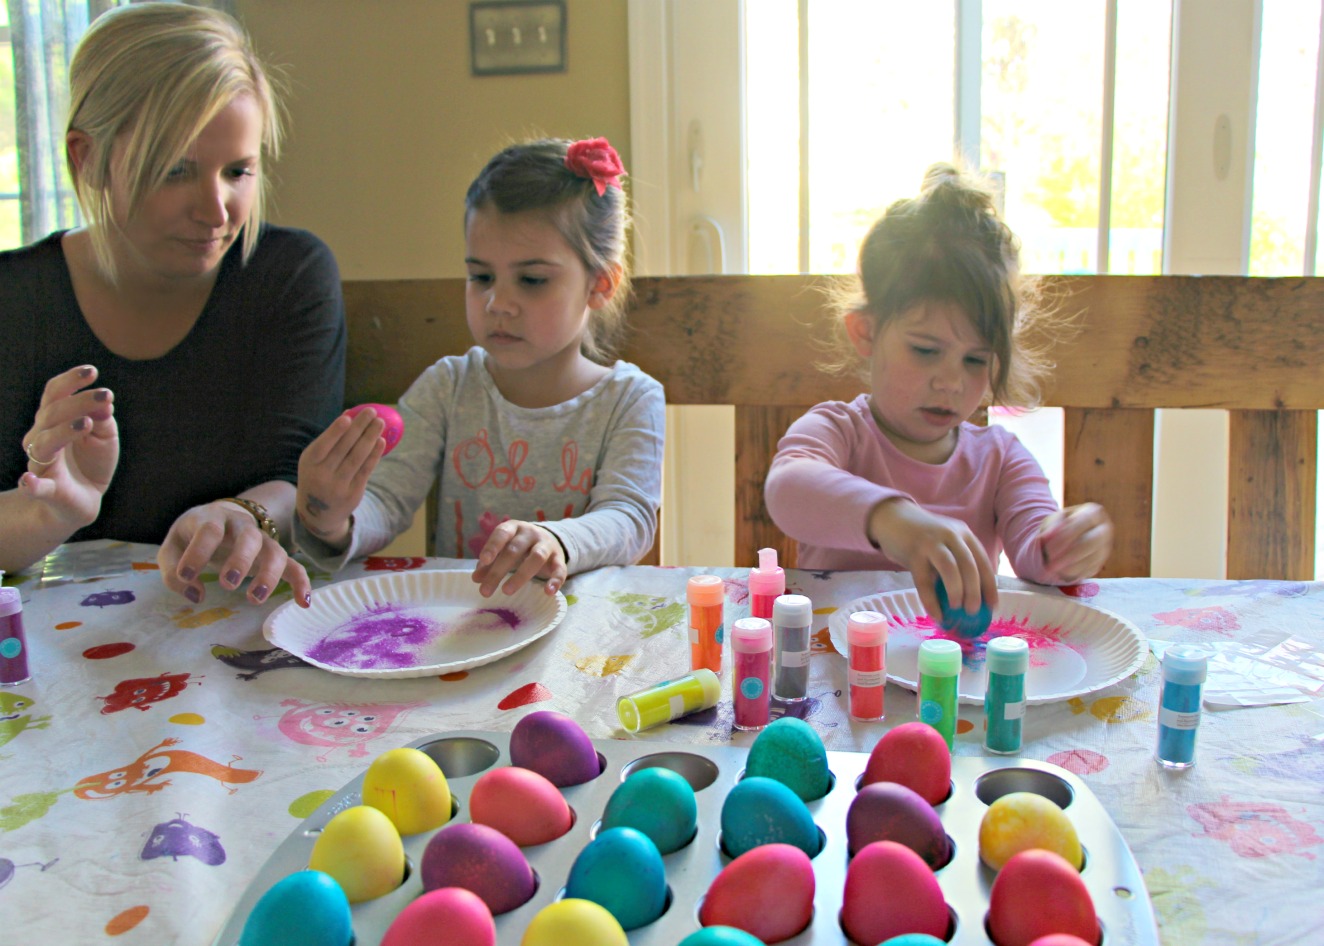
There is something to be said for the nostalgic PAAS pack of little dye pellets, a wax crayon & a wonky wire scooper, I have a lot of good childhood memories with those kits, but this year I know too much. I’ve seen more glitter in my life & had more dye stained on my hands than hopefully any of you ever will but I’m here to say there is more, oh so much more, you can do with a little white egg! Below you will find all four techniques to create the eggs in the picture below along with two videos & tons of tips & tricks just in time for your Easter egg dyeing!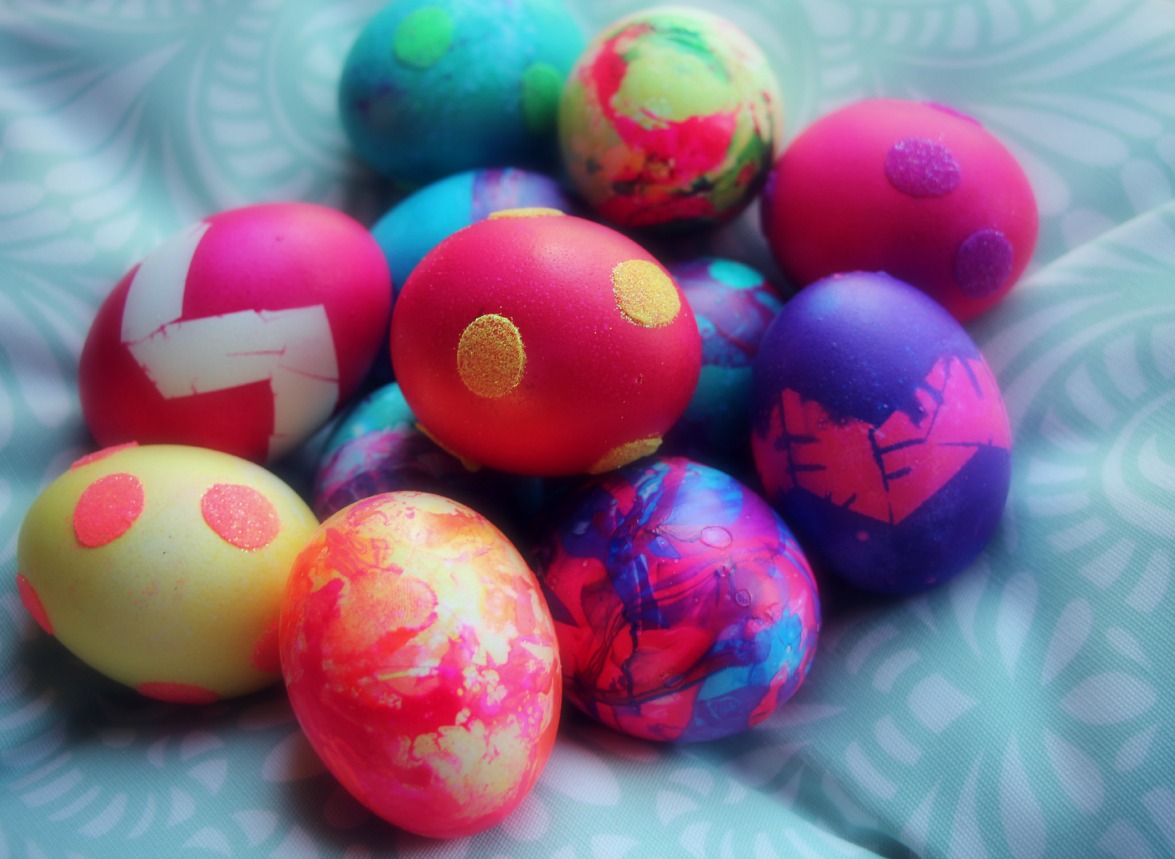 First, I just can’t wait any longer to show you Sam & Sophie’s TV debut where they created a few of the eggs! (which even if you could care less about eggs you totally need to watch, I don’t think anyone heard a word I said because those two were so stinking cute to watch! Sophie’s face cracks me up to no end, I cannot believe she stayed still for so long. P later told after we got home from the TV station that “I never would have had the balls to take two kids on live TV, I didn’t want to scare you before but now I can say I NEVER WOULD HAVE DONE THAT!” Lol, so glad he chose to keep that to himself pre-shooting!)
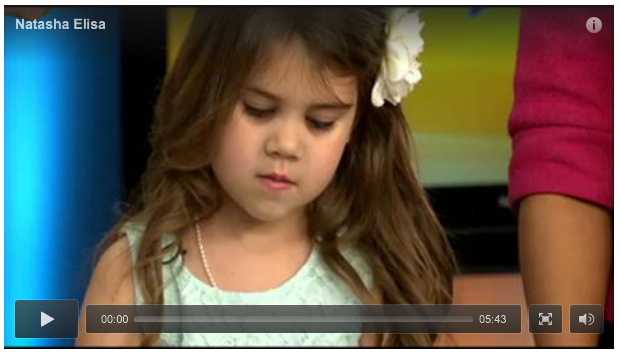
We also weren’t able to get to the ‘nail polish marbling’ technique on the show which is a shame because it really is fun to do with kids & the eggs come out AMAZING so when the girls & I came home from the station I took advantage of us all being camera ready & we make a little You Tube video on how to marble eggs:
Now let’s go back to the beginning & start with expanding on the basics, dyeing the eggs. I learned through this blog posting from Not Martha that I could dye my eggs with food coloring instead of the pellets & achieve beautiful vibrant results instead of the waiting 15 minutes just to get pastel blue the old school way. I actually already had two packs of the PAAS dyeing kits so I went ahead & used those as my dyeing containers but any disposable cup would be just as easy. I didn’t have the exact same dyes as Not Martha so I veered from her recipe a little and did the following…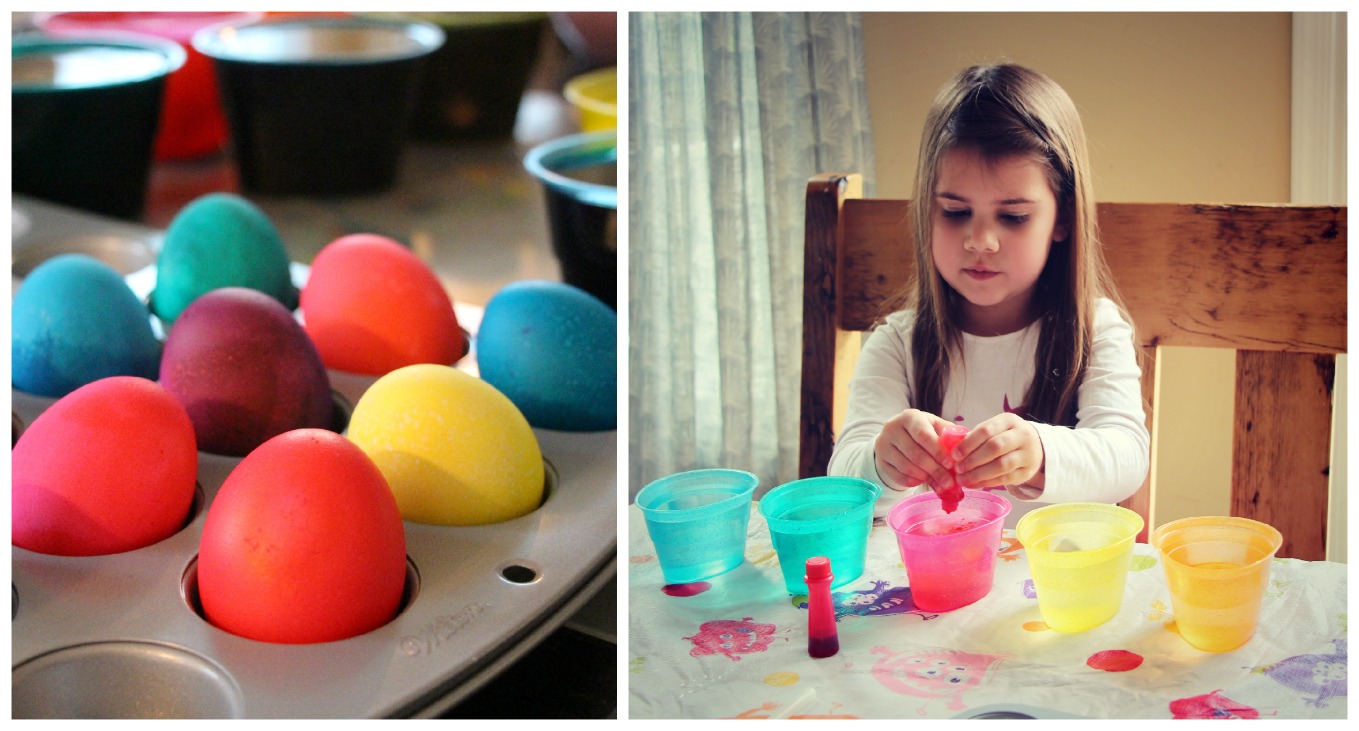 I filled the largest Pyrex measuring cup I had with hot water & filled each of the containers so it would be just deep enough to submerge each egg. I also mixed two tablespoons of white vinegar into each. For the coloring I had to work with what I had which wasn’t much but we ended up being able to make…
Each cup had around 20 drops of dye total, for example turquoise was 10 blue + 10 green, purple was 15 red + 5 blue because the blue tends to be really strong…just fiddle with it, you really can’t go wrong. Also a note on food coloring, the gel ones rock & the natural ones suck. I desperately wanted the all natural to work for edible items I’ve made in the past but they just aren’t there yet, especially for a project like this. I really like the McCormick Neon 4-pack or the Wilton Jewel Color Set
, those are fantastic for homemade play-doh!
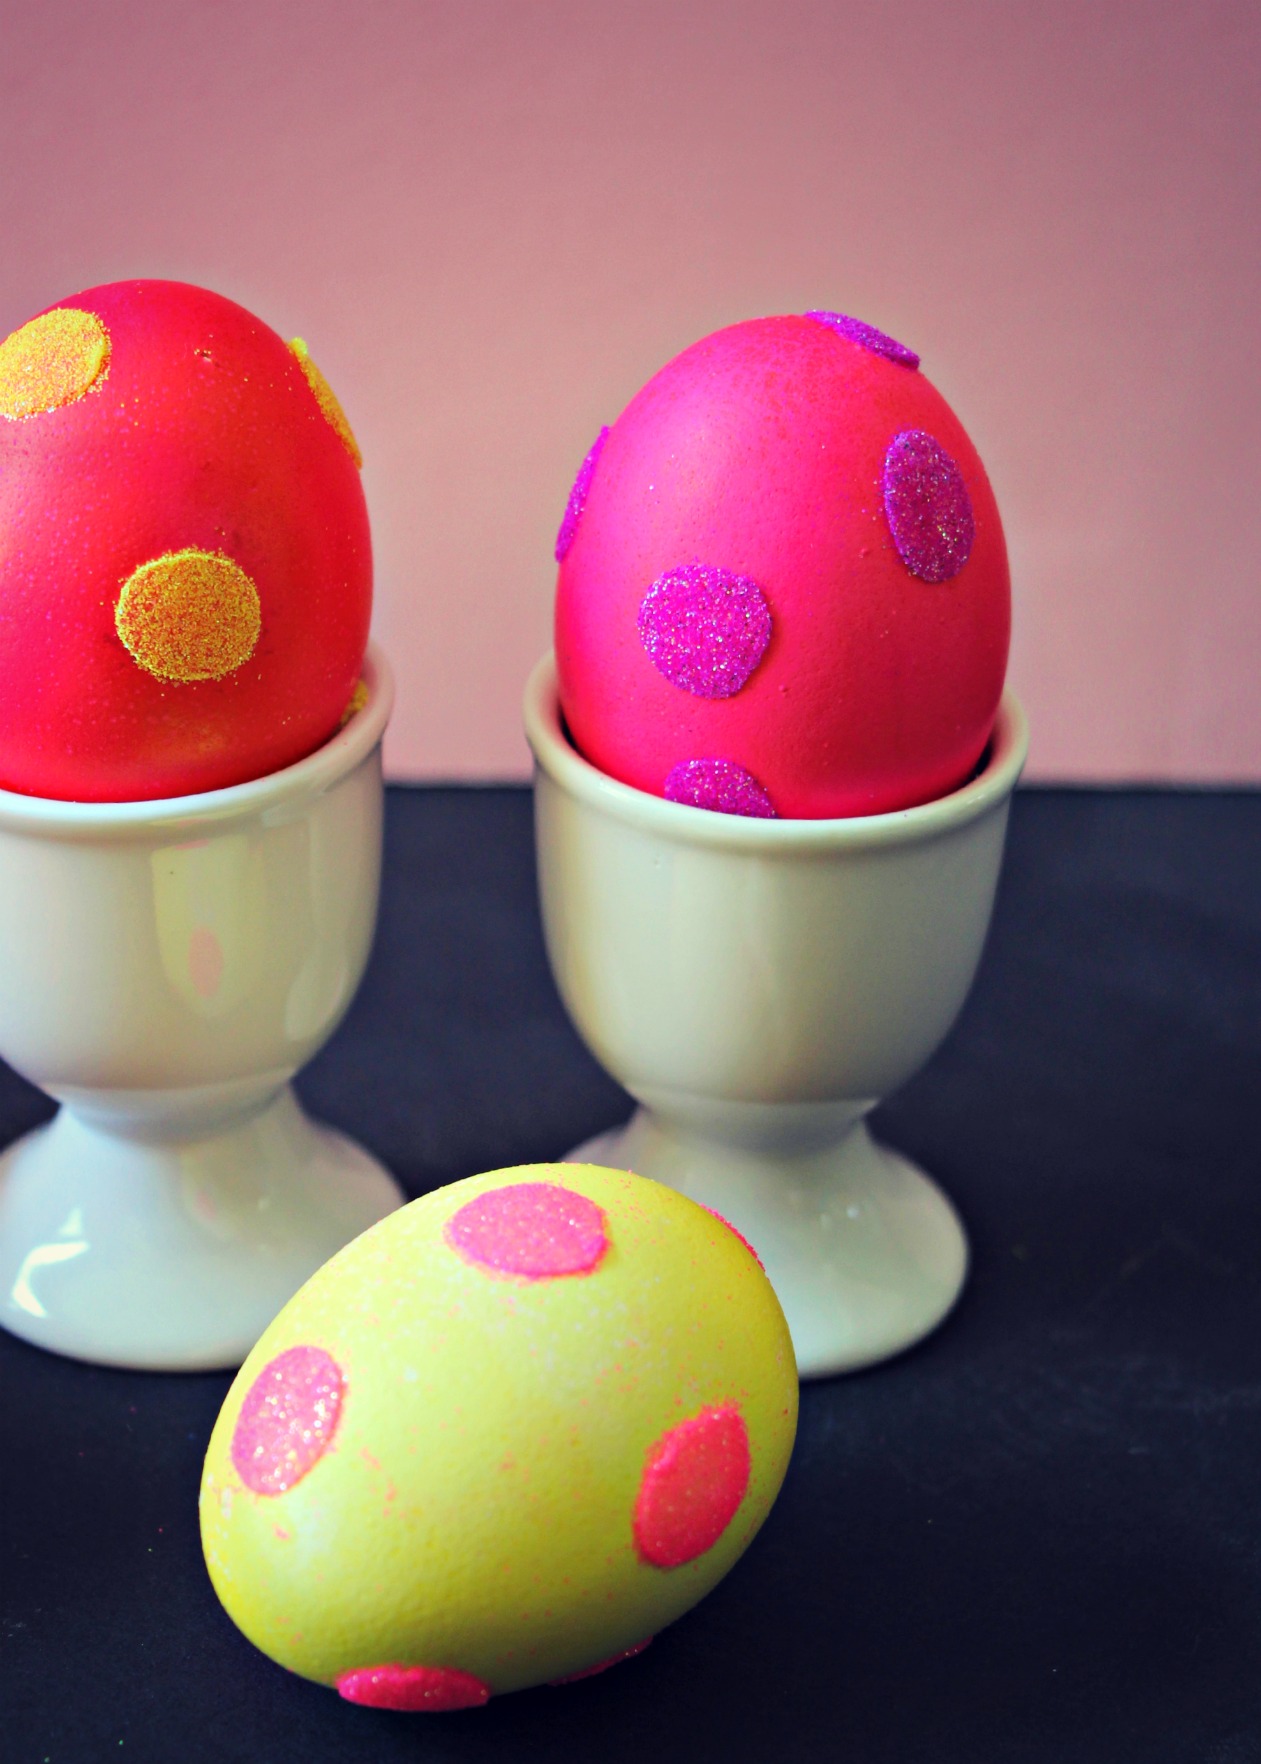
Once the eggs are dyed it’s time for the fun! How about my favorite, glitter polka dot eggs! We’re getting crazy here people! So crazy it’s all in italics, WOOHOO!
 Simmer Down, I know.
These are so simple you’re going to say exactly what I did when I saw them, duh, why didn’t I think of that?! Simply stick a double sided glue dot (these are often used for hanging papers or other light objects) to the egg & then sprinkle glitter over it, shake off the excess & that’s really it! So easy it’s ridiculous. (I used Martha Stewart’s Neon Glitter Set for mine, so pretty.) It’s also a project the girls really loved, the dots are a bit hard to manage since they’re sticky on both sides so I placed those first & then let the kids sprinkle on the glitter. They even rolled the eggs in the excess glitter on the plate to get every single spot. The glitter on the non-spotted area easily wiped off. Just make sure you’re using completely dry eggs.
 The chevron taped eggs are one of those things I saw on Pinterest & so wanted to make but then just couldn’t quite get right. I think my problem was the tape, this girl pulled them off beautifully but she used electrical tape which I know I bought because I remember seeing all the pretty electrical tapes at Lowes & thinking, “Oooo, pretty tape, but I don’t do anything electrical…but it’s purple!” & I bought it. Ironically now that I actually have a use for it I couldn’t find the darn thing anywhere. So I went with what I could dig up, some washi tape & some regular scotch tape. In the end I had two problems with the project…one, cutting all the pieces identically enough so the zig zags would look nice, that was turning out to be way more work than an Easter Egg should require. So I winged that part & it wasn’t too bad but what did kind of suck was the tape leaked. I’ll admit they do have kind of a cool 80’s rockstar vibe going, but not what I had in mind.
 ![]()
Here are a few more tips for marbling the eggs with polish that I didn’t mention in the video above: 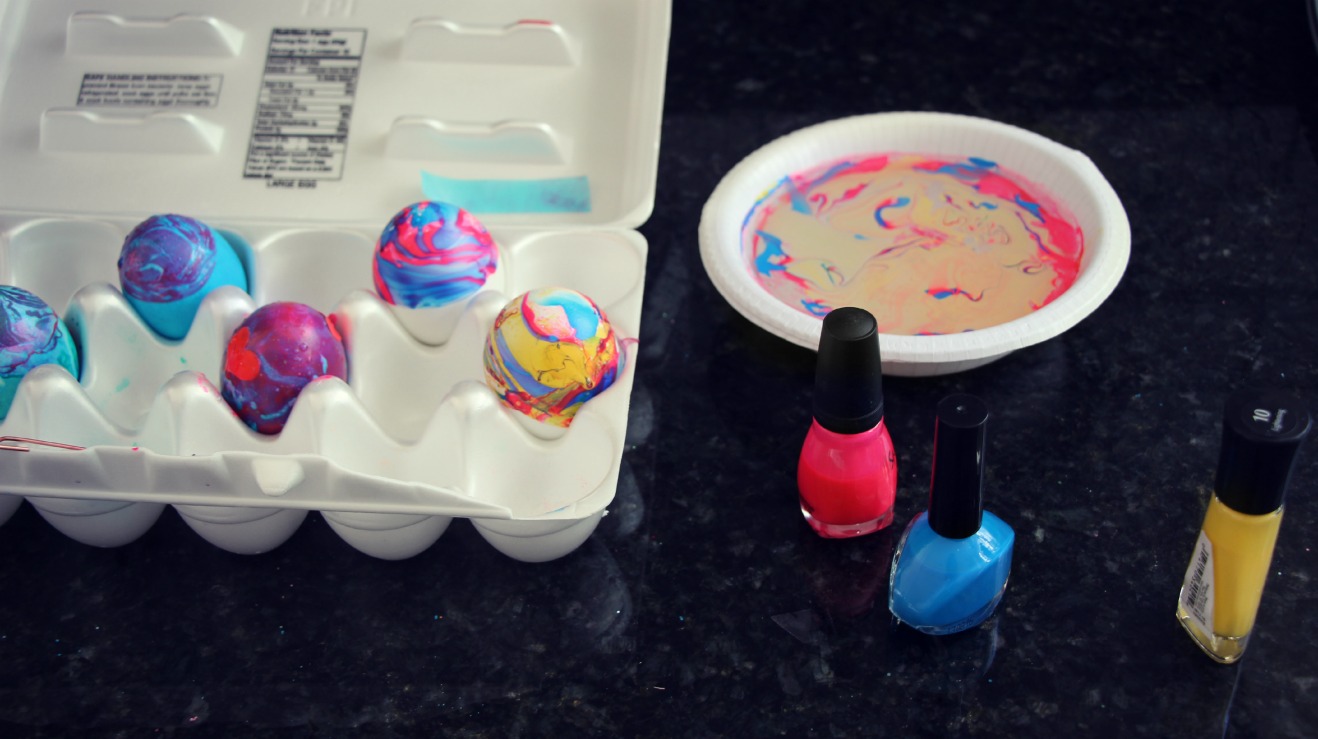 DO use a disposable bowl, fill it 3/4 of the way full with water
DO drizzle lines of polish across the water, you can use multiple colors if you’d like, just work quickly
DONT use glitter nail polish, it globs
DONT dip the whole egg at once, we learned the hard way that it would inevitably end up sticking to the surface it was left to dry on, not to mention the yucky sticky fingers…
DO dip one half at a time
DO swirl it around to create the ‘marbling’ effect
DO skim off any old polish on the surface before dipping the next egg
The final egg decor really doesn’t need a ton of explanation, I saw this post where she made cool lego eggs using temporary tattoos on eggs, so clever right? Turns out they stick to plastic or real eggs…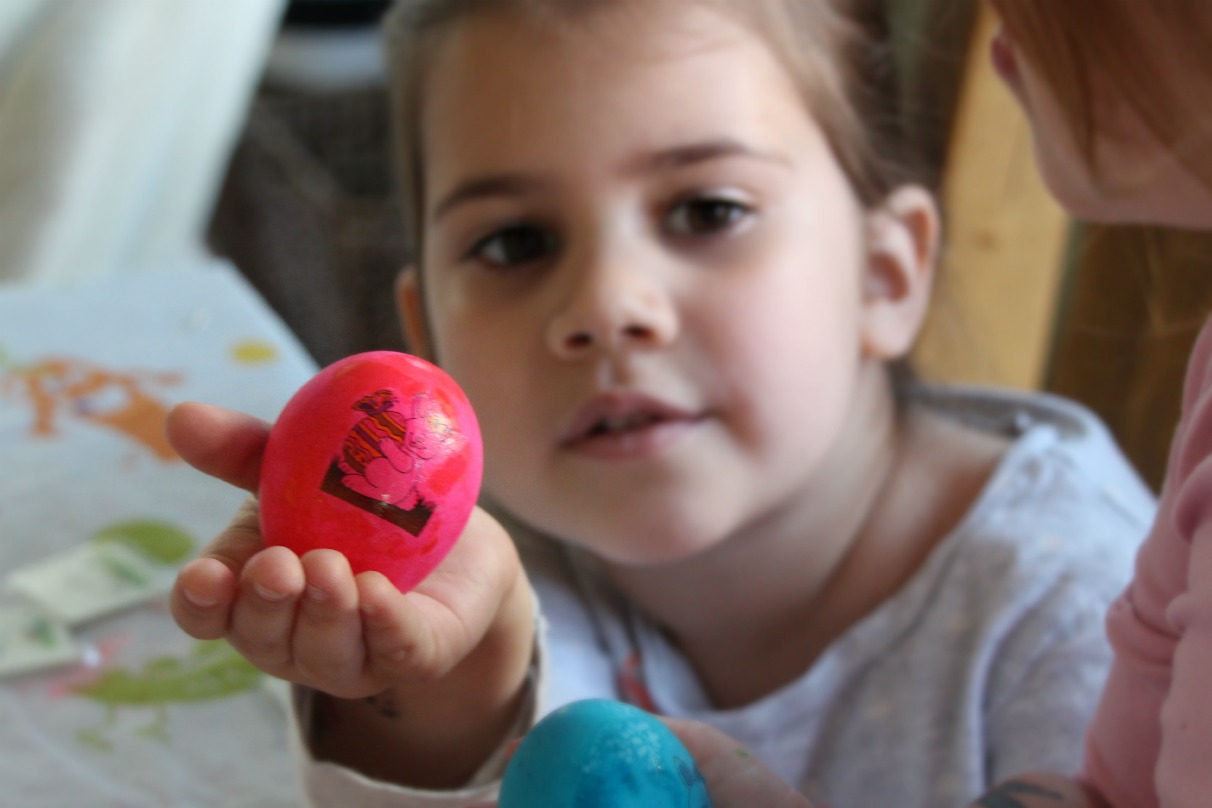 You can buy about 1000 Easter tattoos on Amazon & let me just tell you, give your kid a sponge, a bowl of water, temporary tattoos & a pile of plastic eggs & you’re going to have a good 45 minutes of complete occupation. You’re welcome. Although one last thing to note, don’t leave your child alone with tattoos when they’re supposed to be on TV the next day, I do believe we’ll be finding Sophie a sweater to wear. Oops


This is great! I was born in El Salvador but grew up in the States so my Easter traditions are all over the place. One new thing that I’m trying out this Easter with my kiddos is cascarones aka confetti eggs. Please share tips if you’ve done them before:) Thanks!
I’ve never heard of confetti eggs, they sound like fun though, I’ll be googling them!
Thanks for the linking to our chevron East egg project! Electrical tape is key in preventing leakage…BUT I did another project (Ikat Easter eggs) in a guest post for Musings of a Housewife using painter’s tape that leaks, but creates a cool Ikat effect! I think all your eggs look great and, most importantly, you had fun!
Yours really did look beautiful! Loved them! Next holiday we should do a blog swap, love your stuff!
What are you going to do with all those eggs!? Have any recipes in mind?
You know I’m so weird about eating dyed Easter Eggs! I remember as a kid my cousins cracking them open & eating the wonky colored eggs & it totally grossed me out! I’m still damaged from that memory apparently. (: Any recipe suggestions?
The marbled ones are gorgeous, but I definitely wouldn’t eat those, given all the toxic chemicals in nail polish!!
I love your blog! Wish you could post more often but totally understand FAMILY always first! You should do the Confetti eggs they are so much fun and easy to do! You have to prep ahead of time. When ever I cook eggs I poke a hole on one end, drain the egg, quickly rinse and let the the egg shell dry. I use the egg carton to store them. Then I color the eggs let them dry and then fill with confetti. I use tissue paper with glue to close the opening. Its fun to give to kids to crack on your head and confetti comes out. Just be careful some eggs might be hard to crack and hurt a bit. Overall super fun! I loved seeing your daughters on the TV segment.
That video was precious. Sophie got really into the ABCs…I love how emphatic she was when she got to “X.”
The eggs look great! I love the glitter dots.
OMGoodness, your girls are so darn cute! I wouldn’t be surprised if you start getting calls from casting agents. 🙂
We tried the nail polish eggs and the glitter ones. The nail polish ones are very cool. I don’t want to get rid of them! The glitter ones would be cooler if I could have found the right glue dots. I mistakenly bought two-sided foam sticky dots things… so they stuck out from the eggs, and ended up being 3-dimensional. Pretty, but kind of odd.
Yeah the glue dots can be a pain but isn’t the nail polish dipping the best thing ever?! Don’t feel bad, we kept ours until they stunk…they gave me the push I needed to trash them. (;